
Project by Kaizen DIY
Introduction
Hey everyone, welcome back to another tutorial. This time we’re building a t-bar row platform.
Alternatives, Tools, and Materials
Budget Alternative: Titan Rowing Platform
Premium Alternative: Rogue Indy T-Bar Row
| Materials: | Link #1 | Link #2 |
| 8ft 4×4 | Home Depot | |
| 4ft 2×6 | Home Depot | |
| Skateboard grip tape | Amazon | |
| Roll of Grip Tape | Amazon | |
| UHMW plastic | Amazon | |
| Early American wood stain | Home Depot | |
| inch screws – Home Depot link | Home Depot | |
| 1.25-inch wood screws | Amazon | |
| L – brackets | Amazon | |
| Mending plates | Amazon | Home Depot |
| Tools: | ||
| Dewalt sliding miter saw. | Amazon | Home Depot |
| Dewalt cordless drill | Amazon | Home Depot |
| Dewalt impact driver | Amazon | |
| Drill press | Amazon | Home Depot |
| * Alternatively, the holes can also be drilled using a cordless drill | ||
| Combination square | Amazon | Home Depot |
Other Options
I’ll be the first to say this piece is not 100% necessary for everyone. You can do effective landmine rows with your feet on the ground.

You can do some inexpensive foot elevation with bumper plates or squat wedges.
This Platform
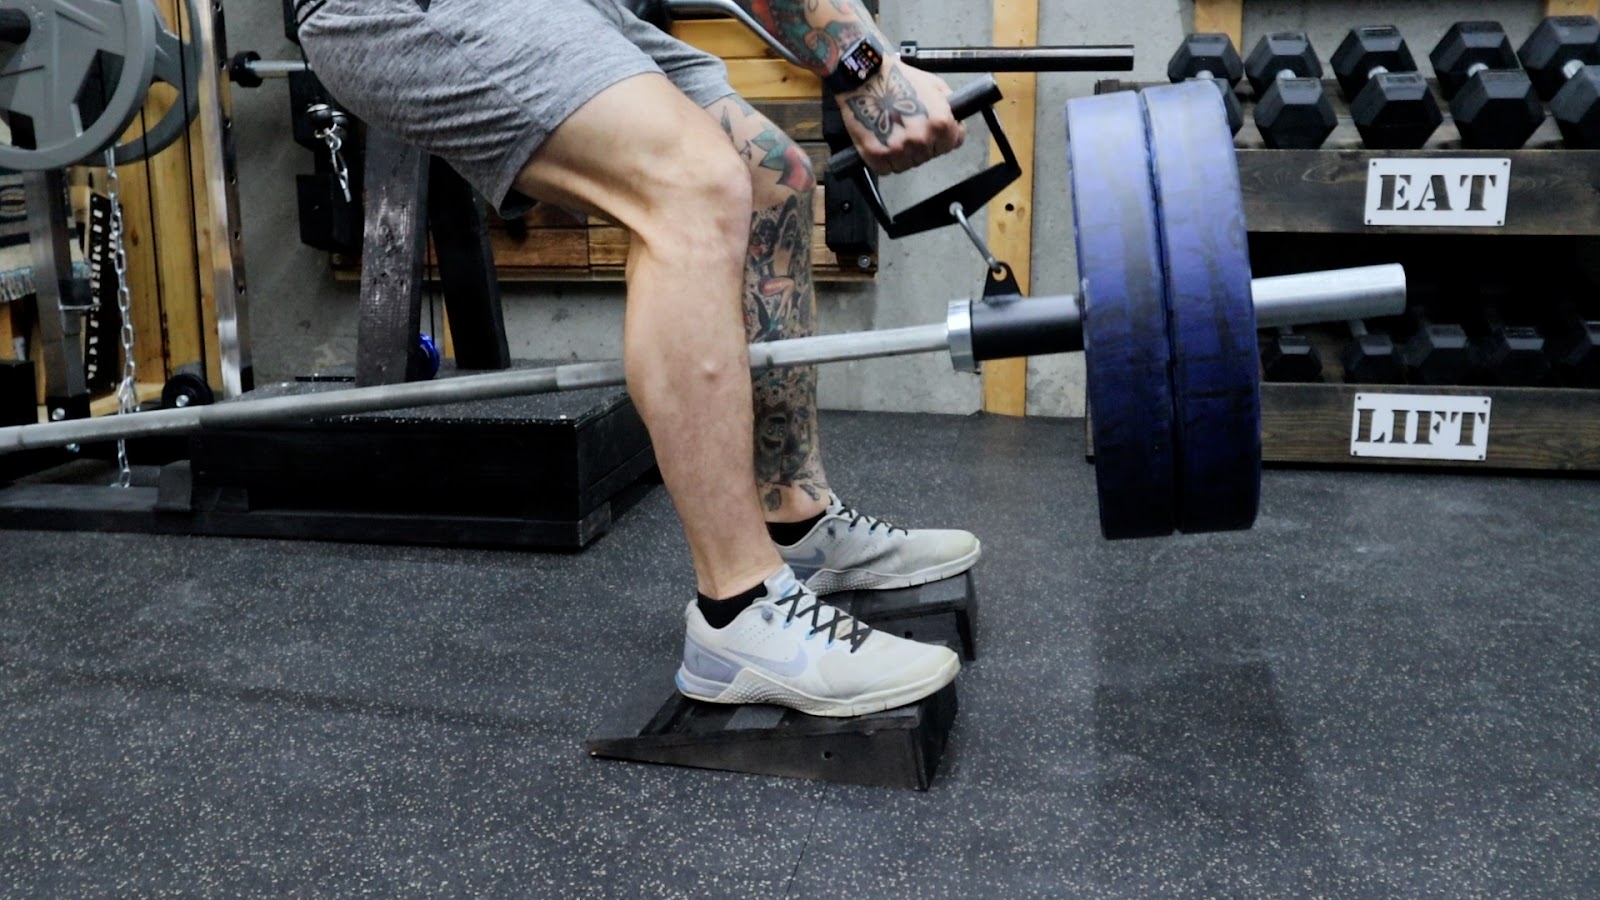
What I like about this platform is that it makes loading the bar pretty straightforward, it puts your feet at an angle more in line with the angle of the barbell, and the elevation provides a little extra ROM.

Inspiration
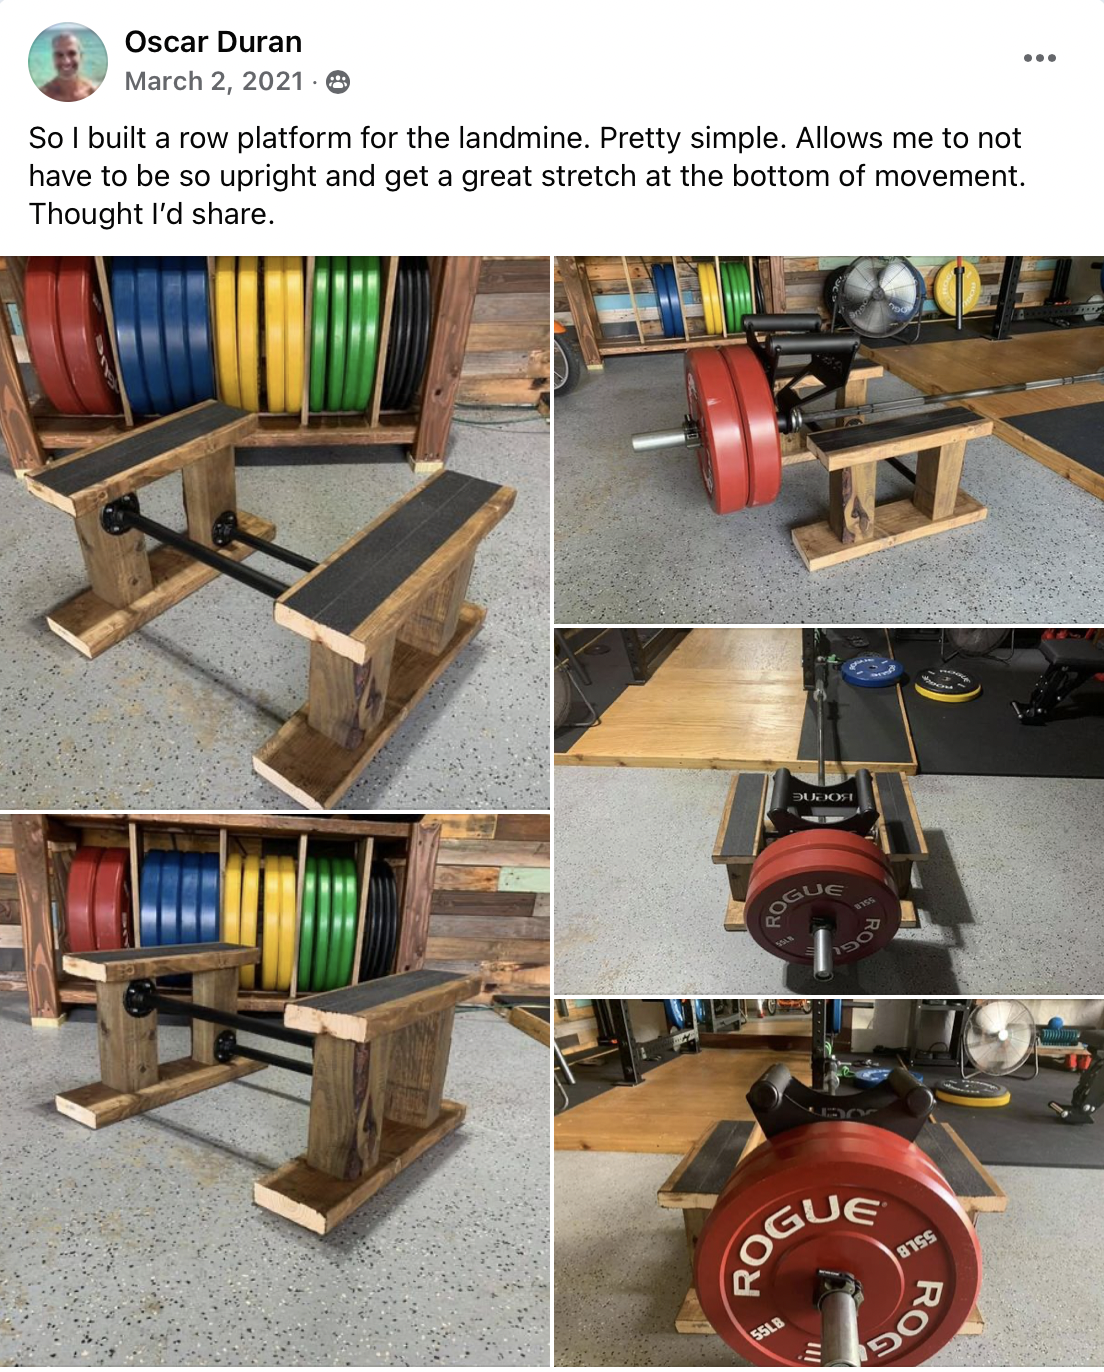
My design was inspired by a post I found in the Home Gym Community Facebook group by Oscar Duran.
Prototype
I threw a quick prototype together in about an hour and was pretty happy with it.
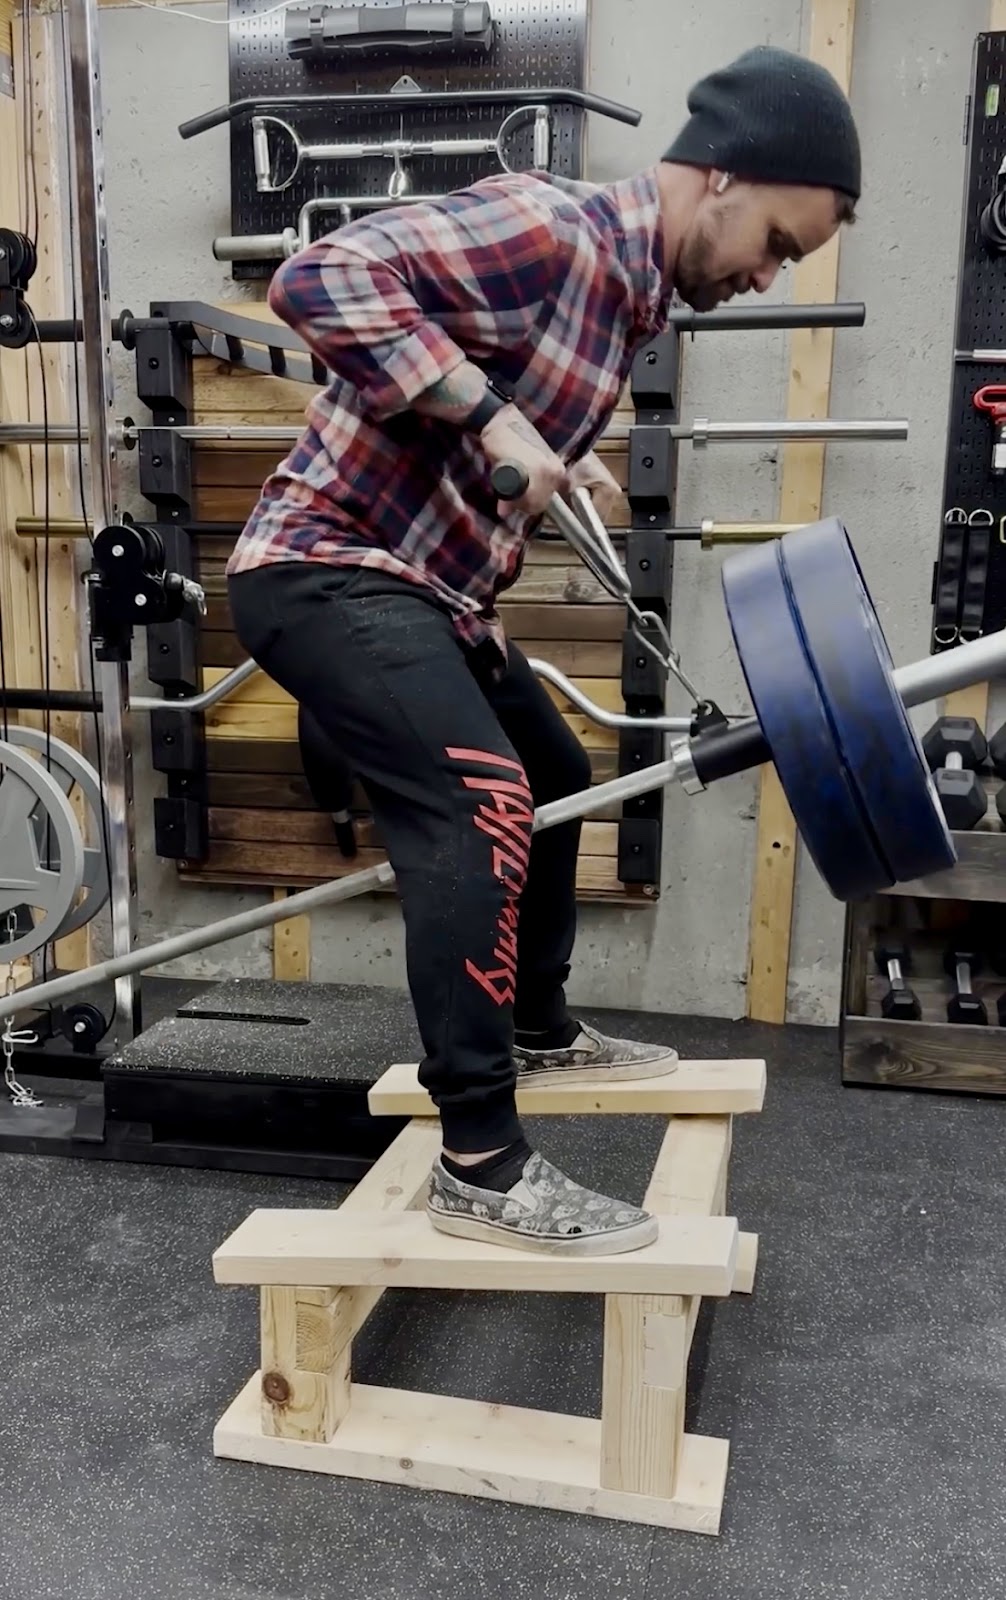
One of the first changes I wanted to make was eliminating the cross member on the shorter 4x4s. It was too high up and caused the wood to break along the grain. Fortunately, I was able to salvage most of the prototype and use many of the pieces for the final build.
The platform still needs a second cross-member for stability, so I plan on adding a 2×4 along the bottom. This is much better.

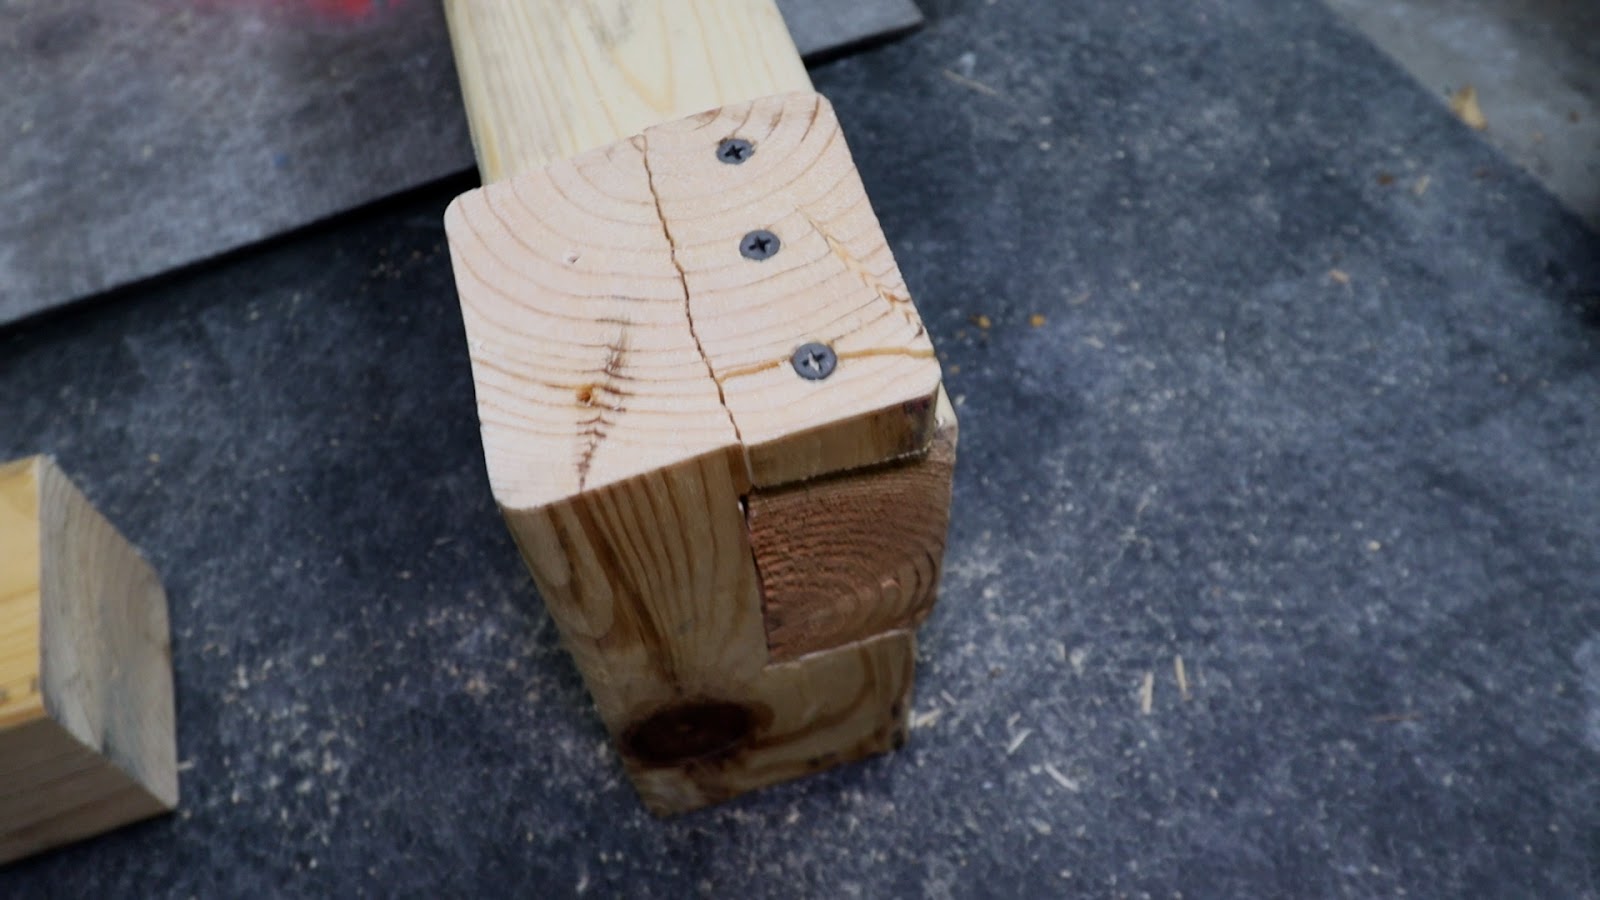
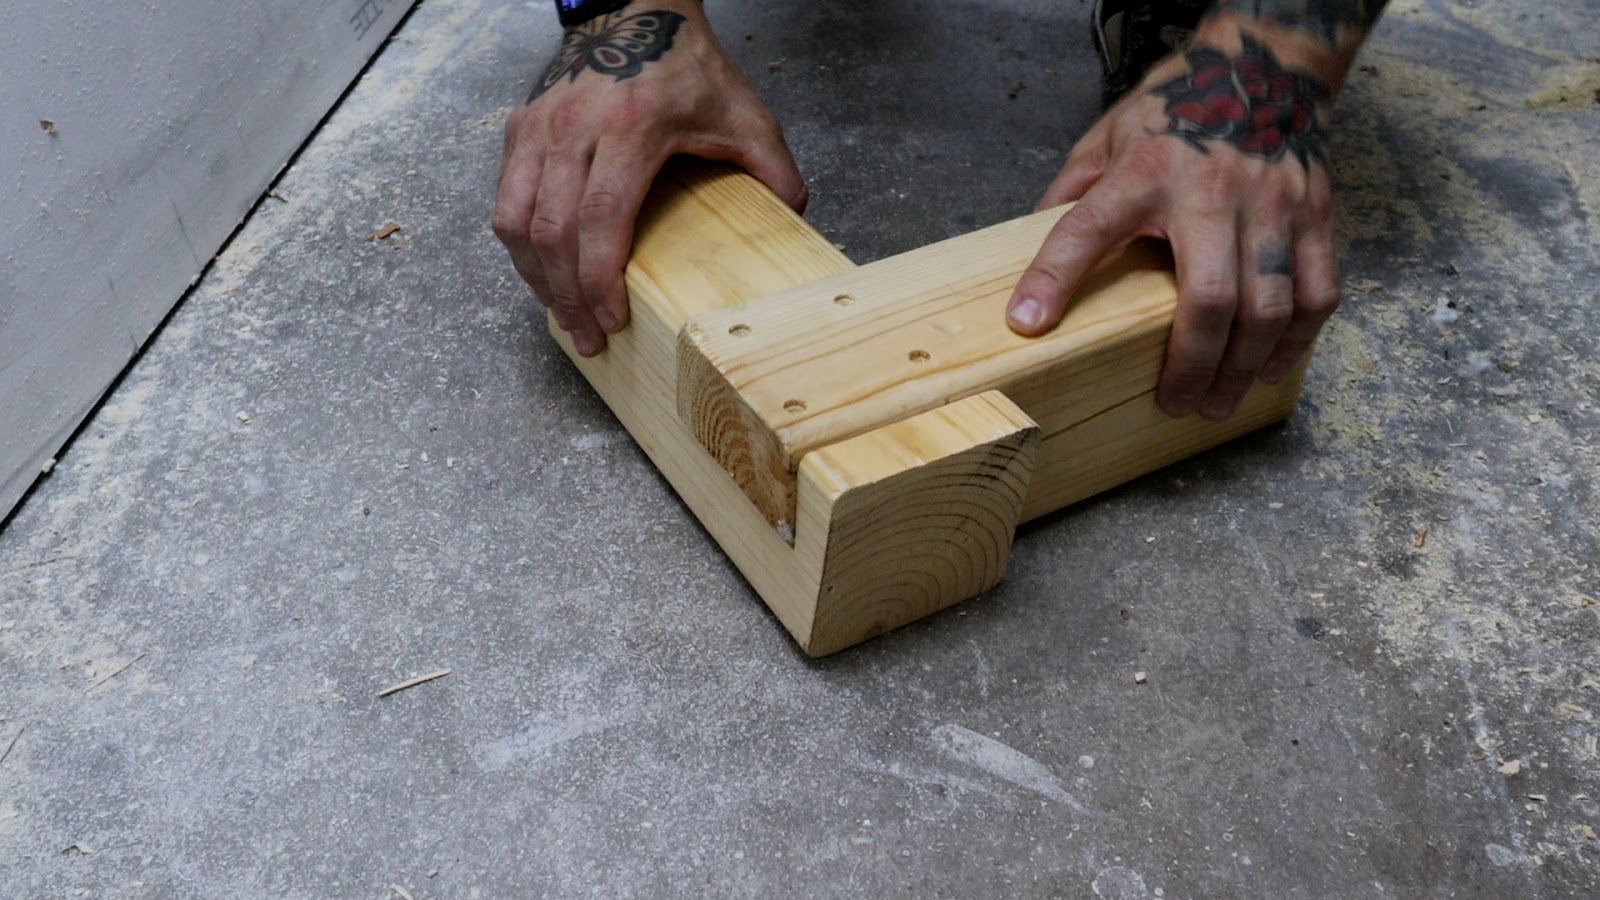
By the way, in this build, I am using a lot of lap joints because I like how they look. If lap joints seem complicated or intimidating, you could use butt joints instead and add mending plates.


Dimensions
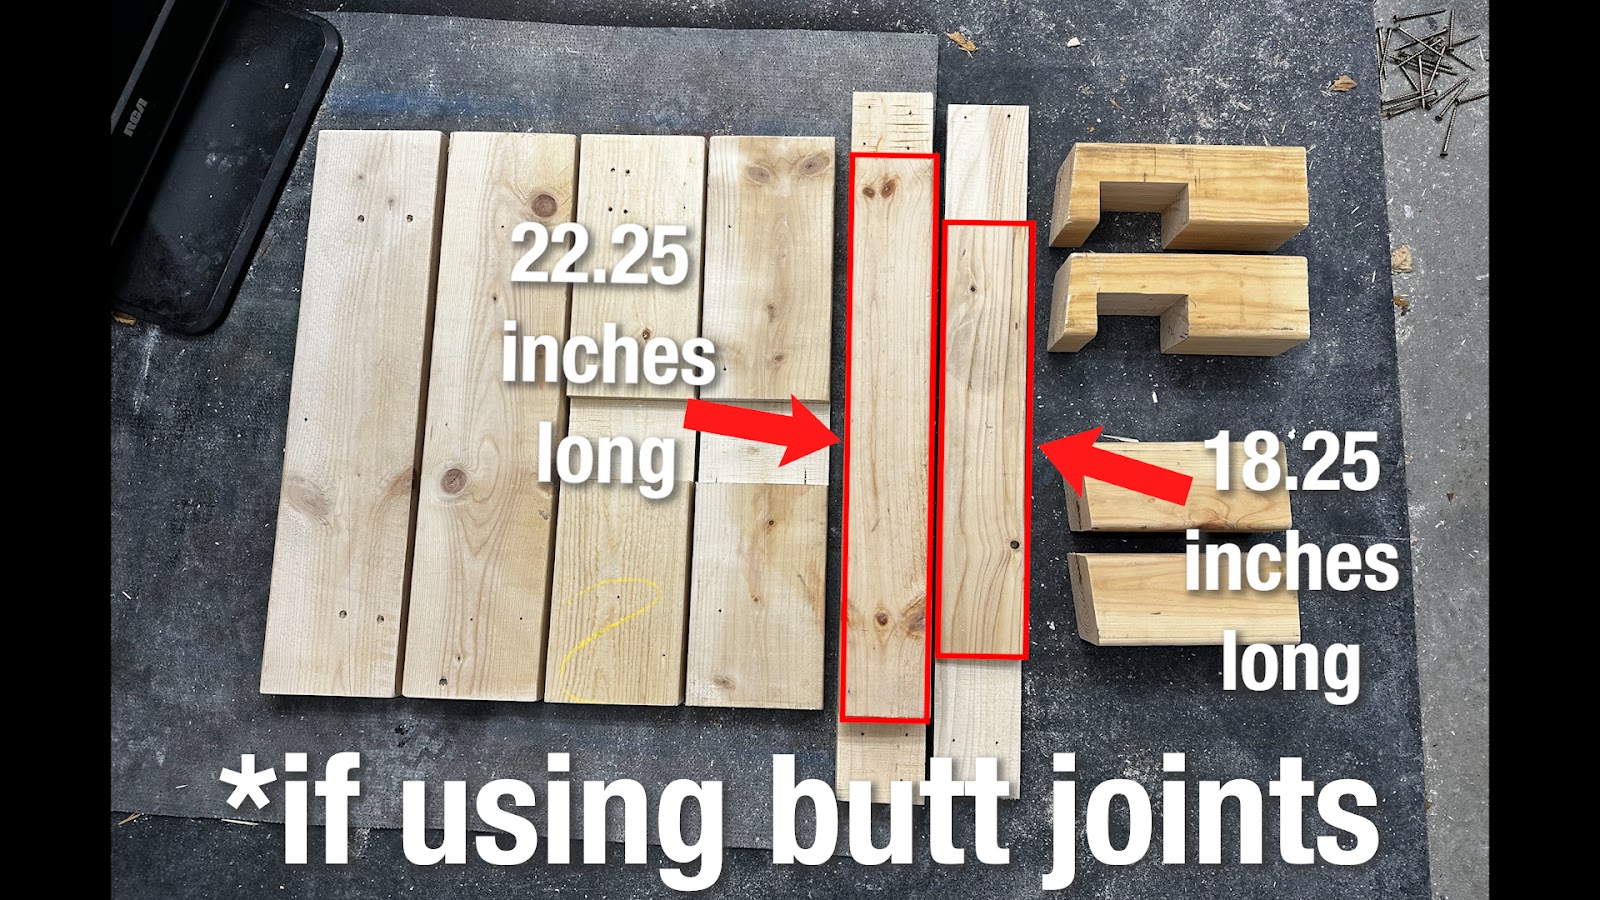
Once I have everything cut, the platform is ready to assemble. Before I do that, here are the dimensions I used.
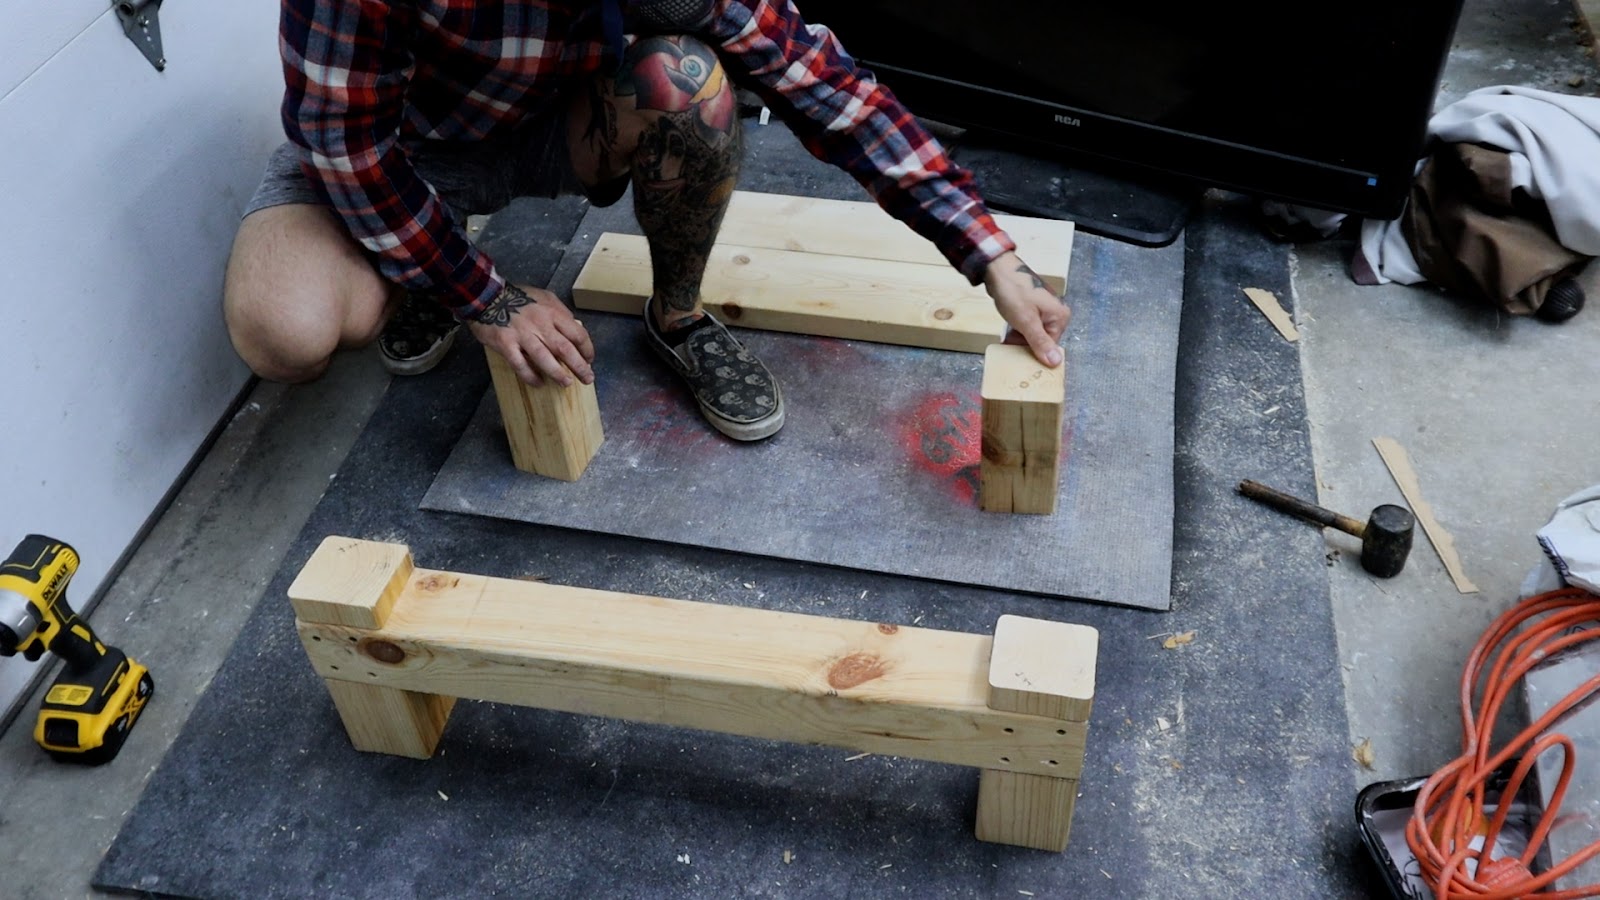
The 2x6s are 24 inches long; the two cross members are 30 inches long. Remember that the cross members will be shorter if you’re going with butt joints.

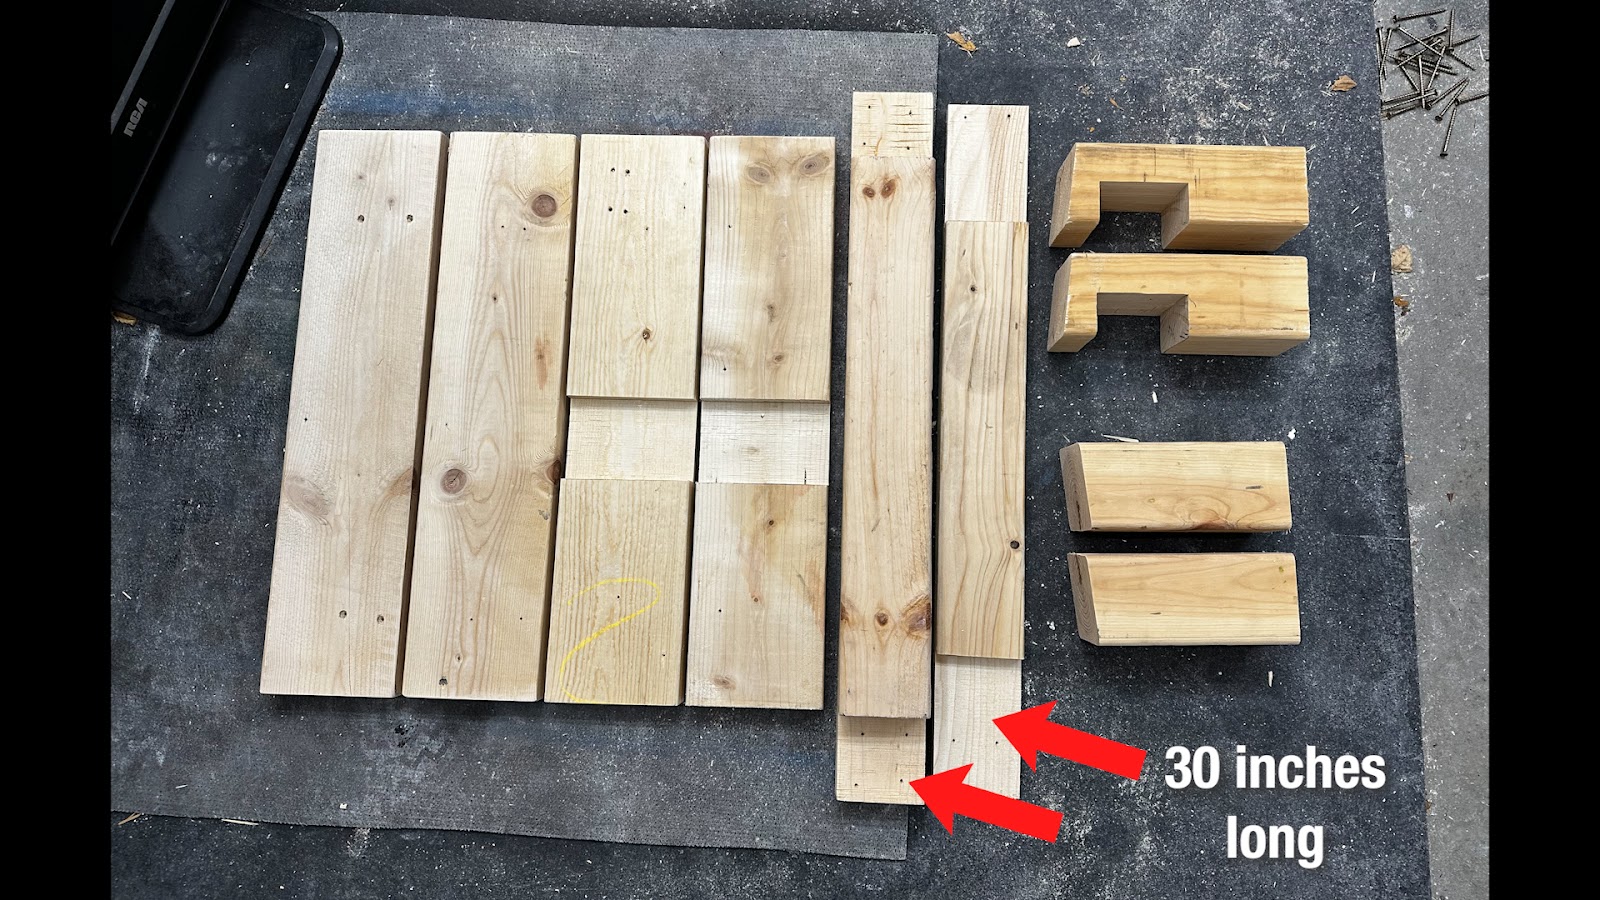
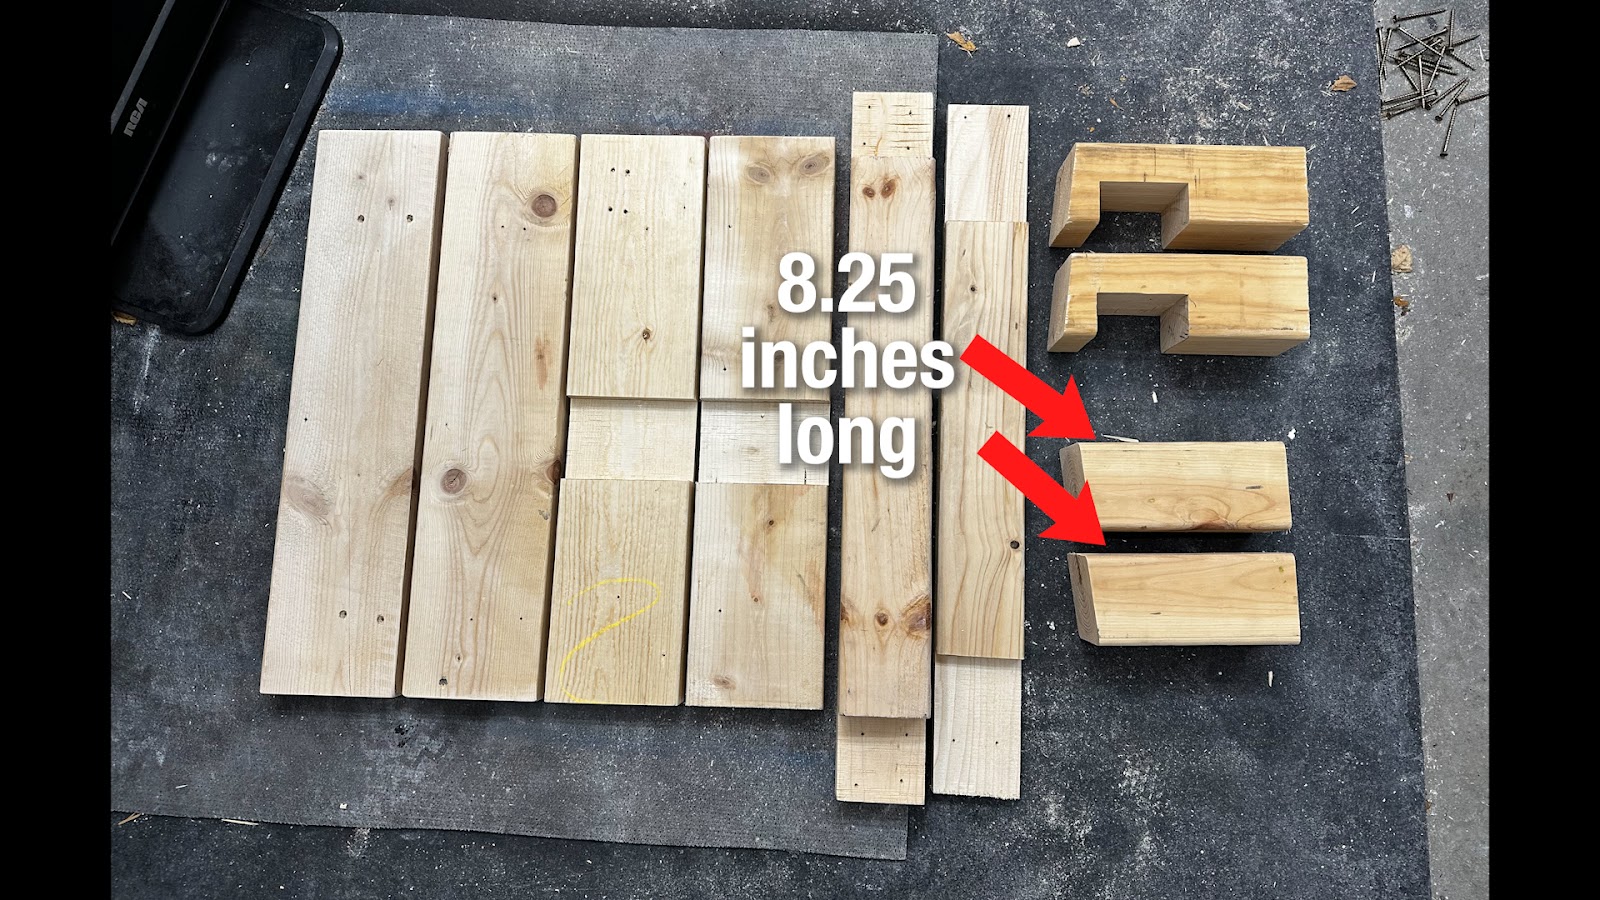
The 4×4 supports have an 85-degree angle at the top, the shorter 4x4s are 8.25 inches on the longest side, and the taller 4x4s are 9.75 inches on the longest side.


The overall size works well for me and my body type; you might need to make modifications to optimize the platform.

Assembly Instructions
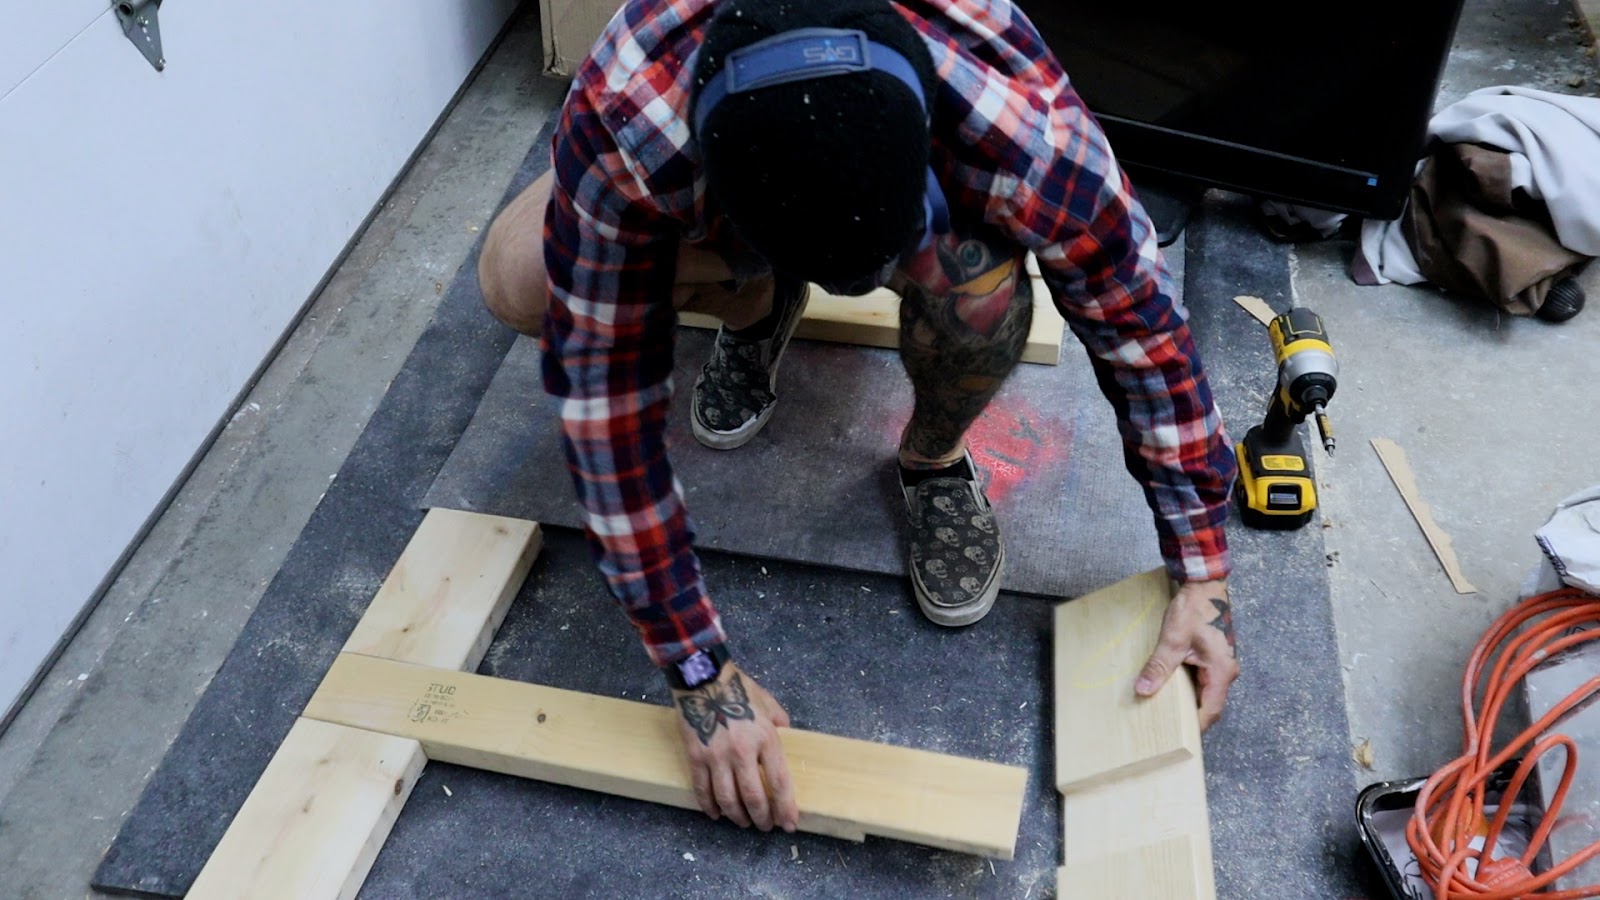
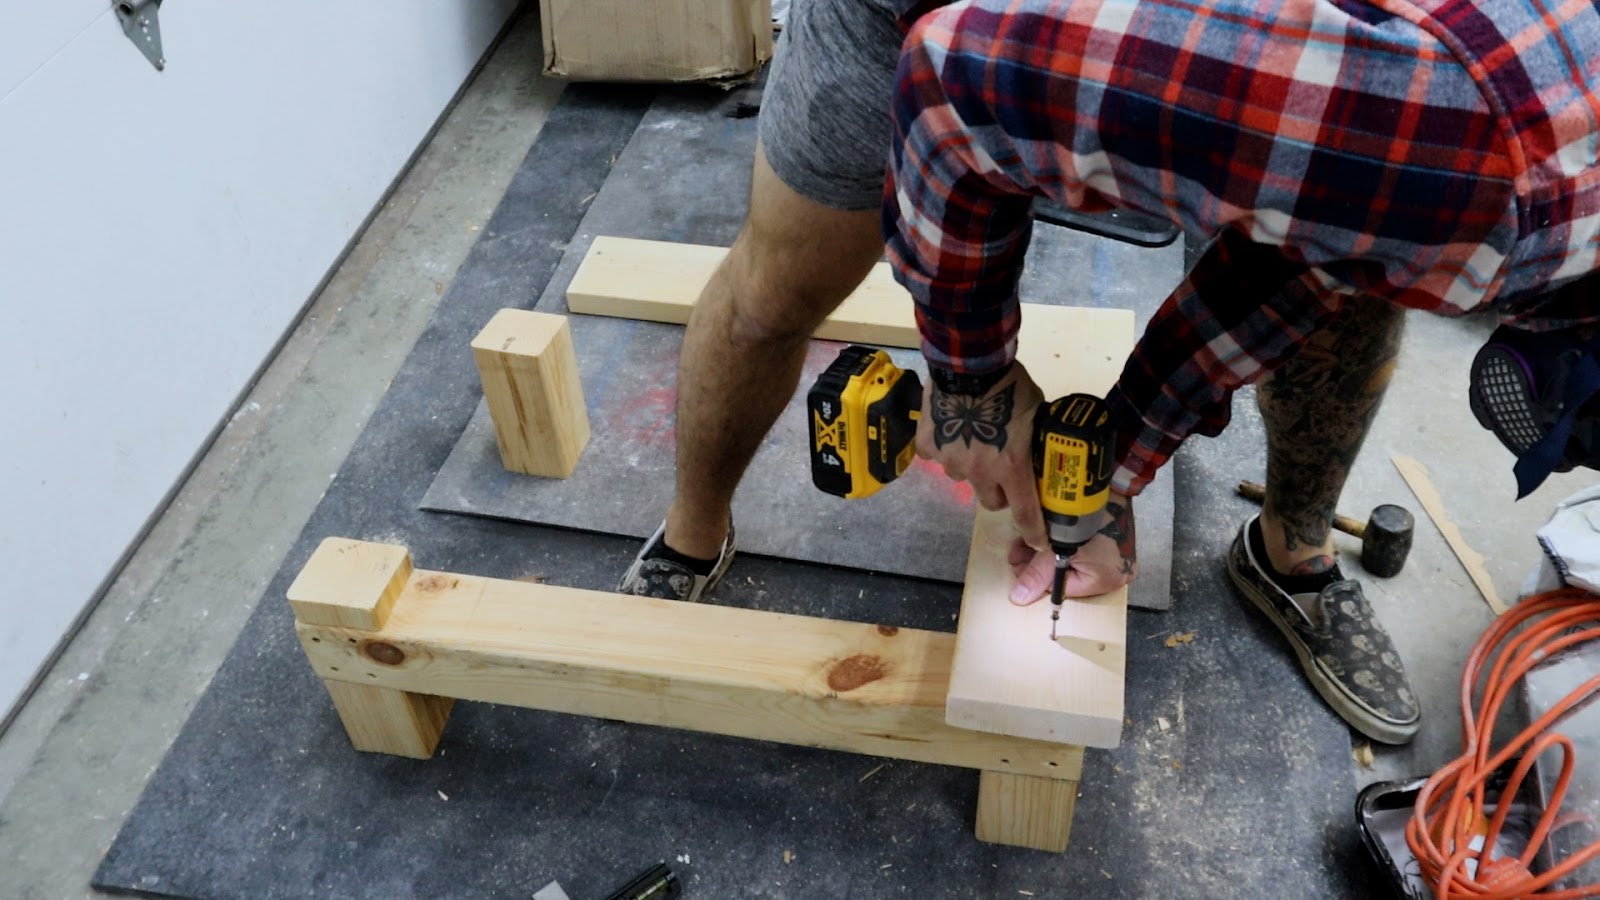
Time to assemble. The lap joints go together like Lincoln logs. I reinforce them with 2-inch screws.
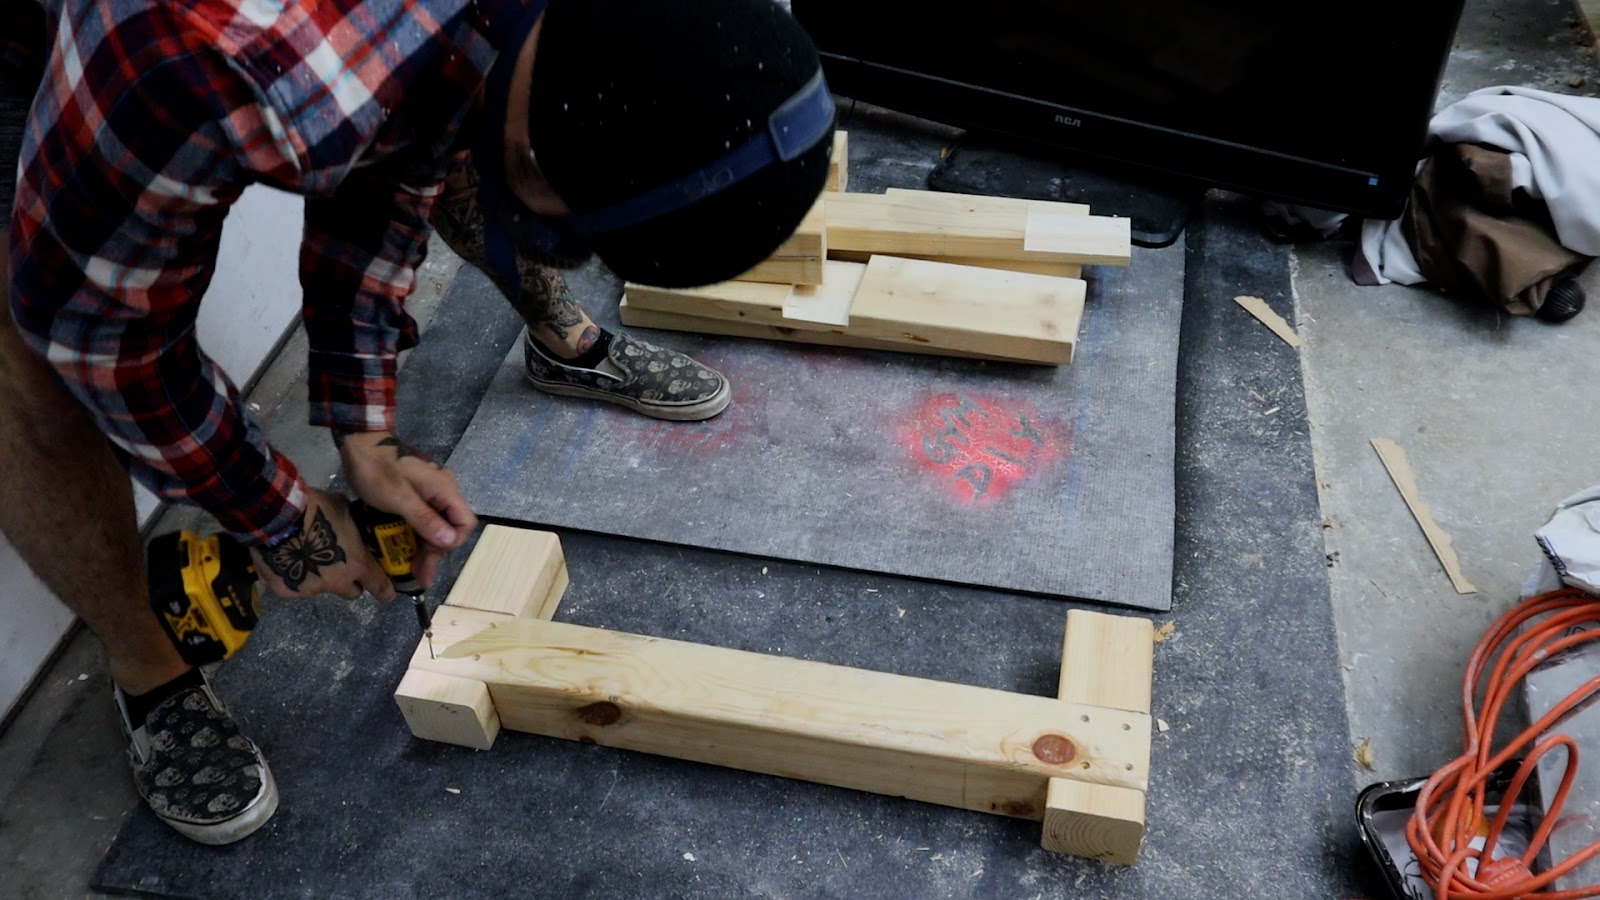
I attach the 2×6’s to the tops of the 4x4s with one screw to hold them in place. I’ll reinforce them later.

I fix the bottom of the platform piece together with 1-and-a-quarter-inch screws, then fasten to the 4x4s.
Two 2x6s go on top.


I leave a 2-inch overhang on the front, and a half-inch overhang on the side, then add a few screws to hold these in place. I’ll reinforce them later.
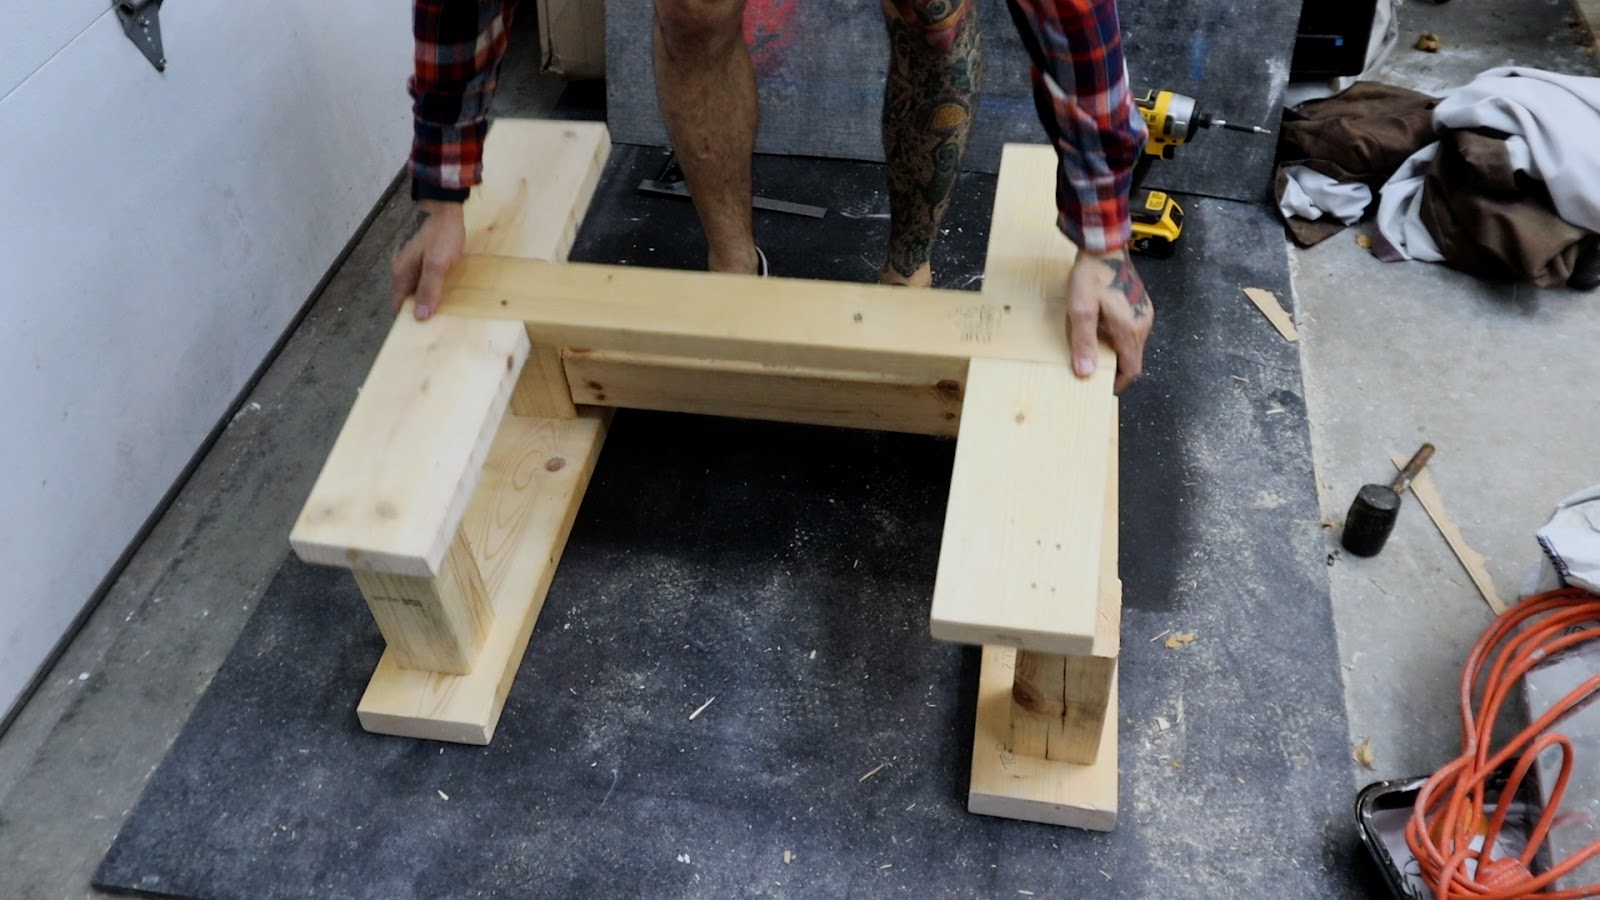
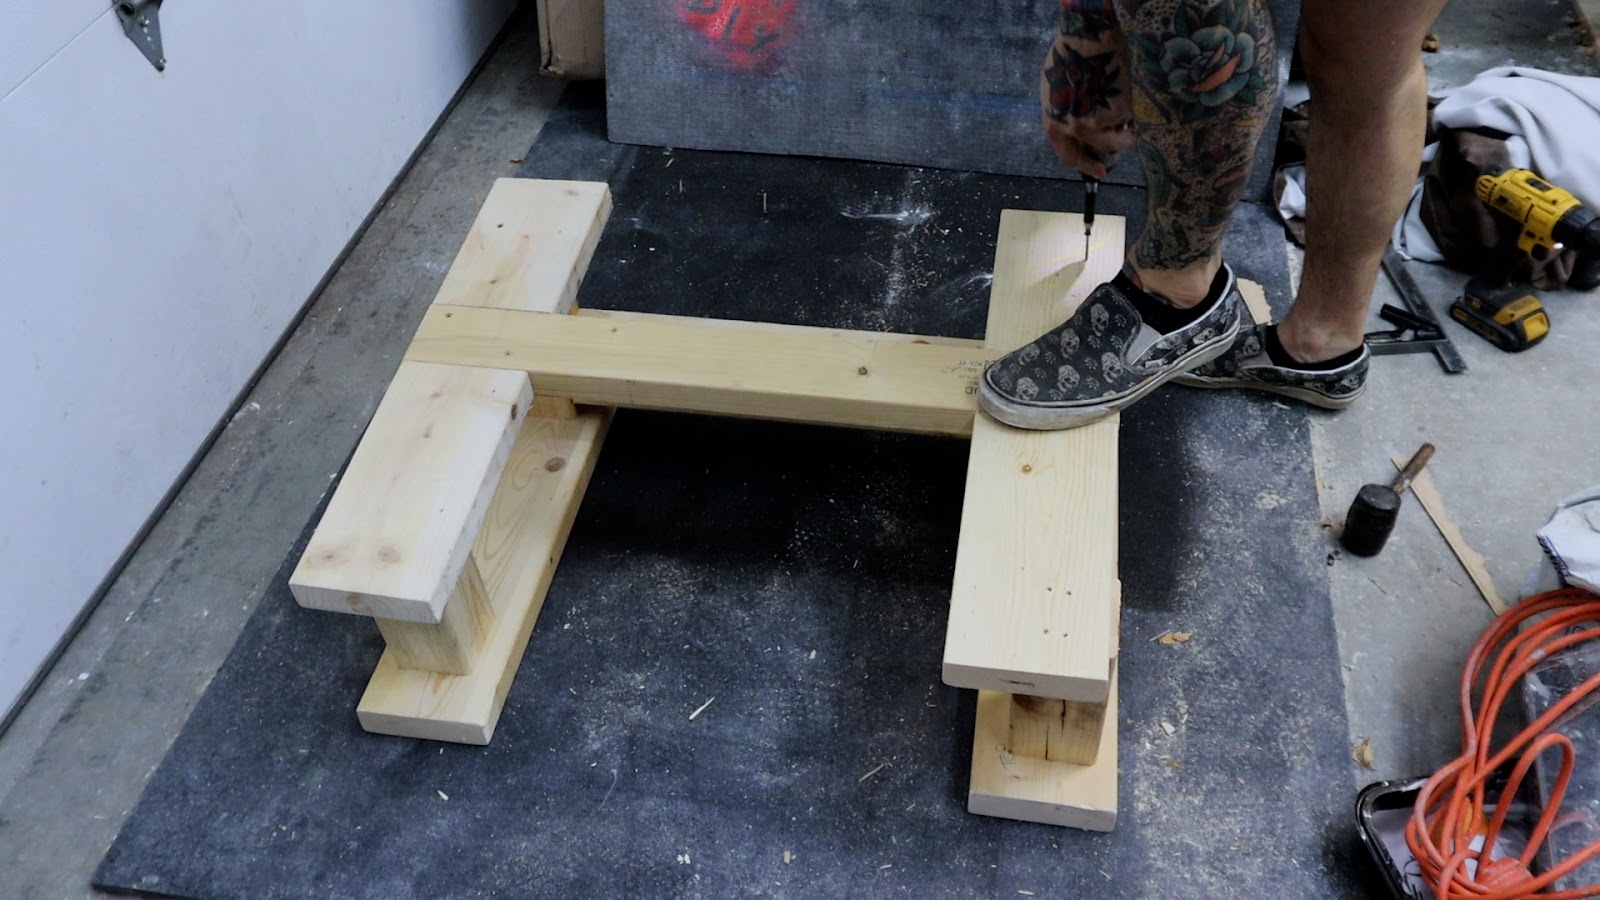
I flip it over and attach the base to the 4x4s with two 2-inch screws in each one; these can also be reinforced later.


In order to reinforce the footplates, I add L-brackets.
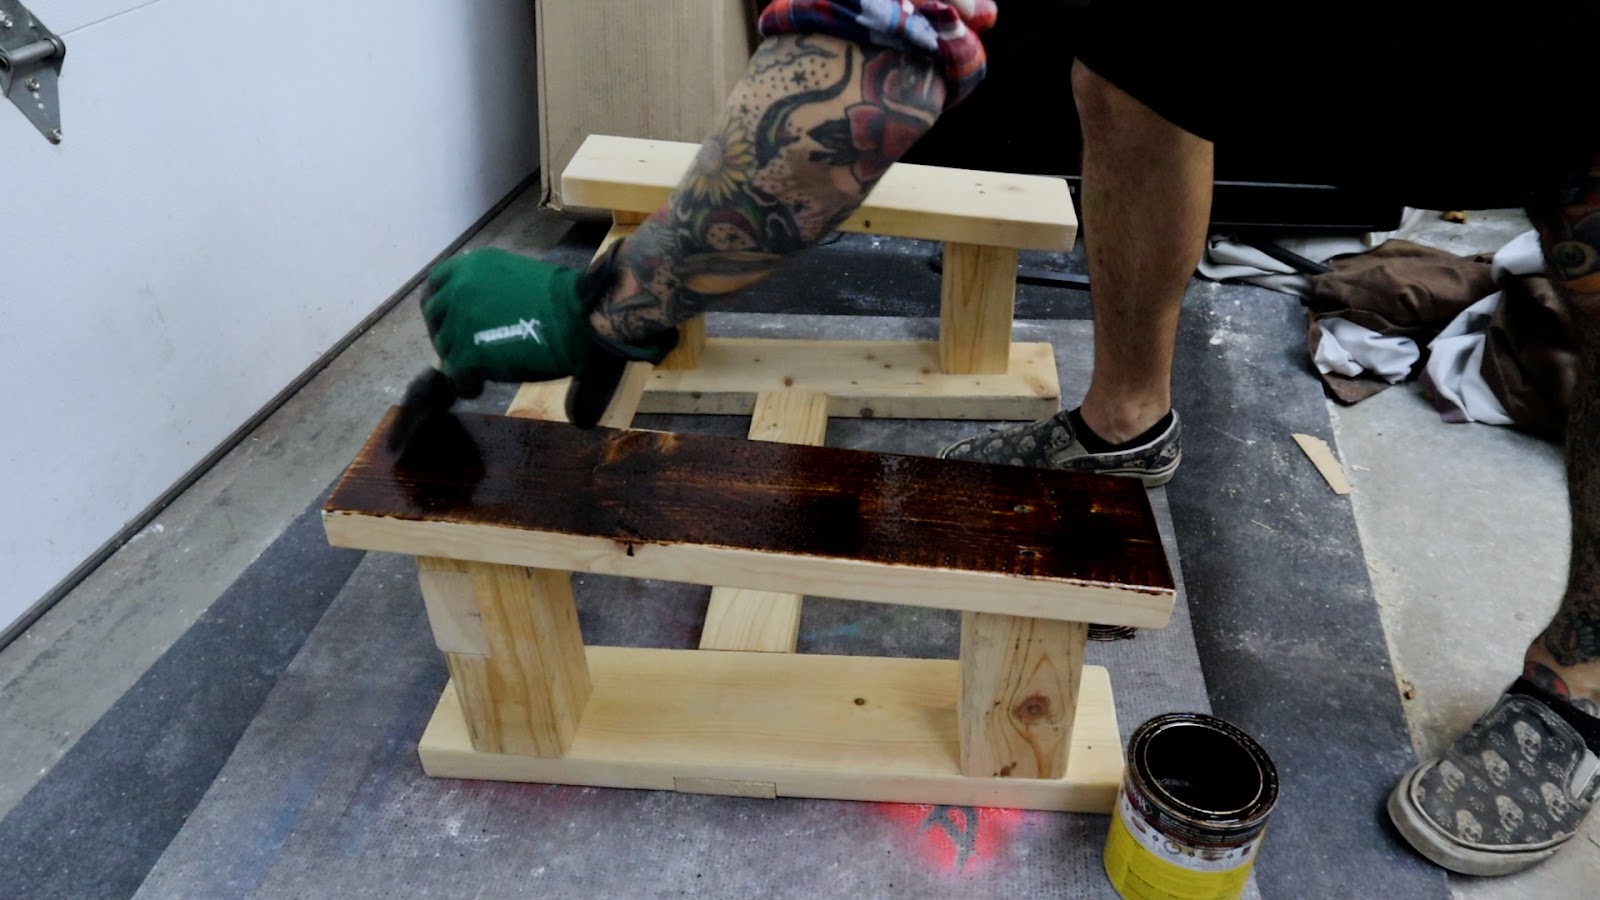
I apply some early American wood stain, so it matches my other DIY equipment. Once that dries, I have two optional finishing touches.

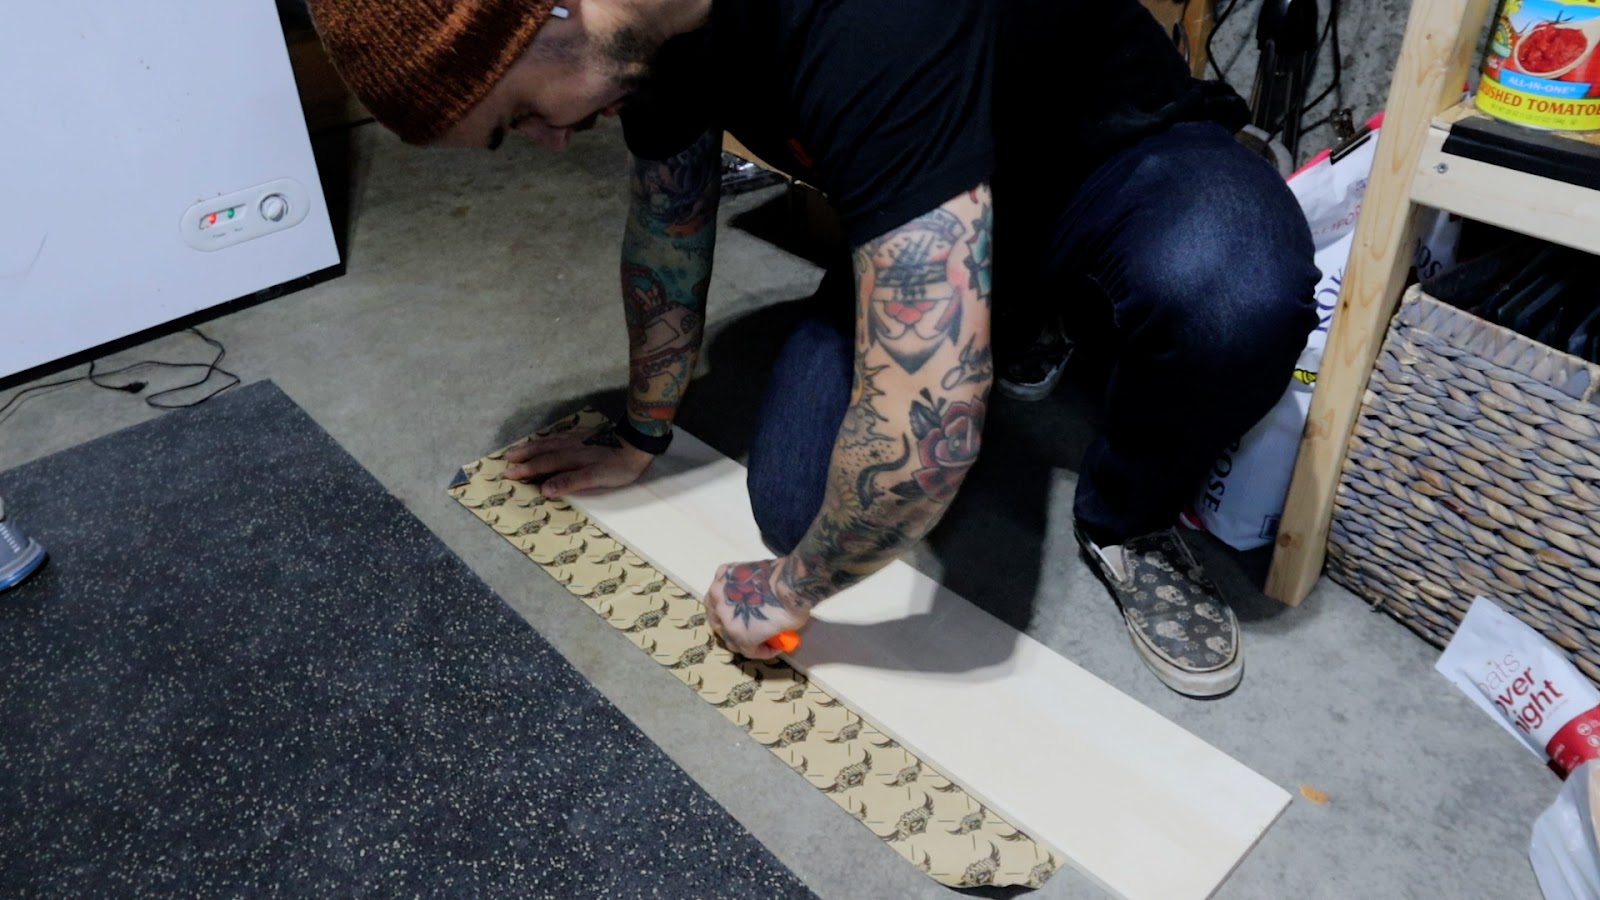

The first is adding grip tape to the footplates. I use skateboard grip tape because I can cut it to the exact size I need. Using a roll of grip tape is also an option.

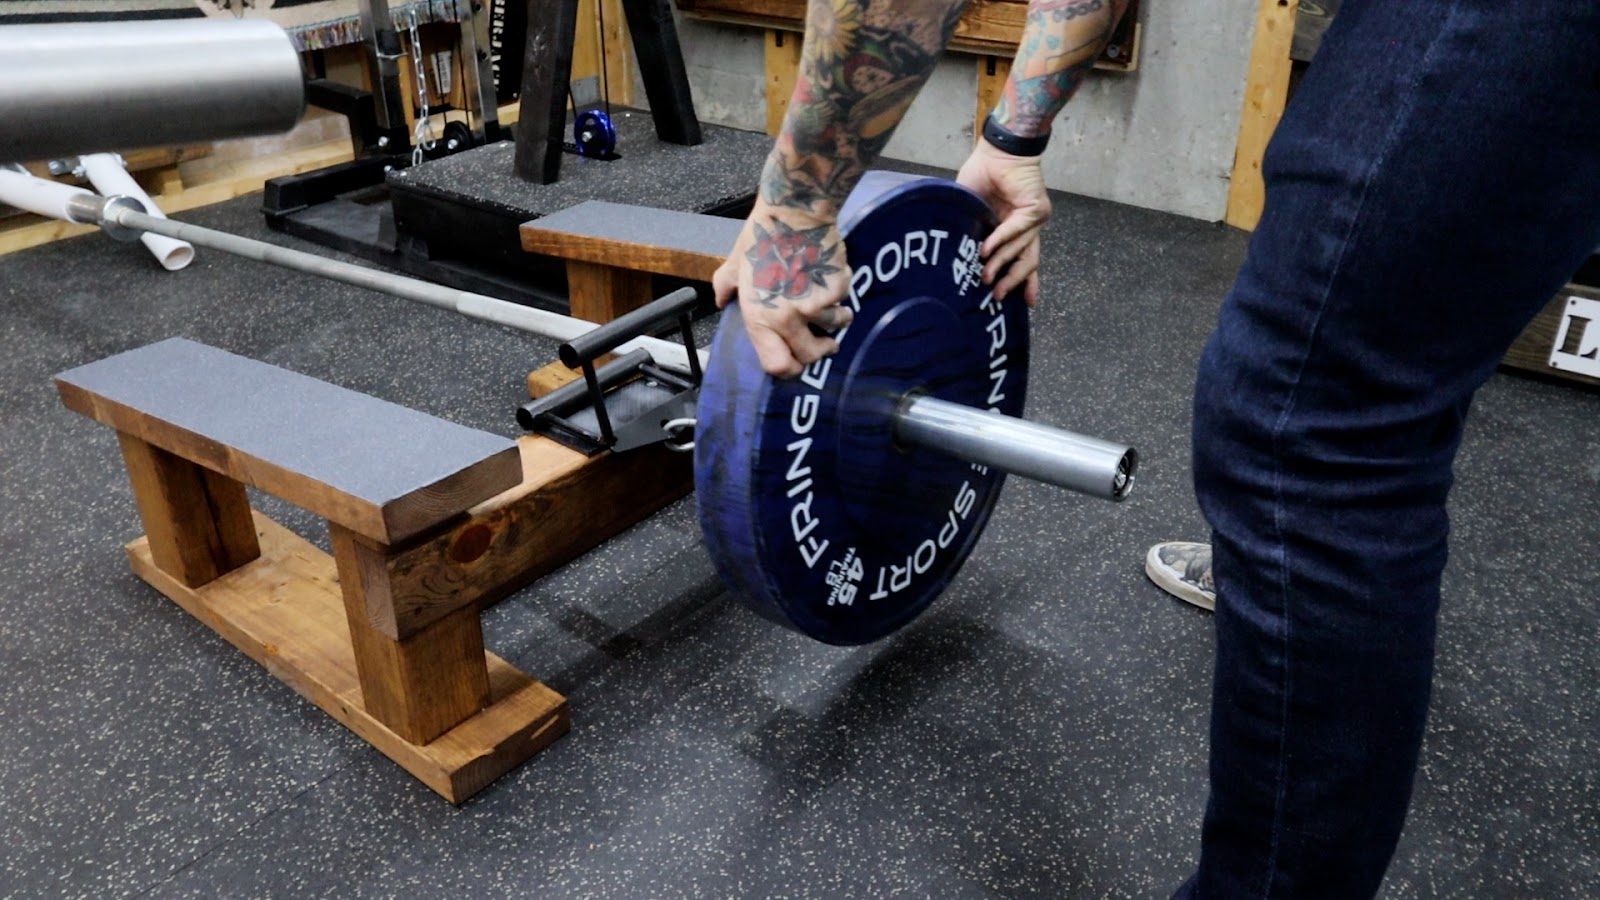
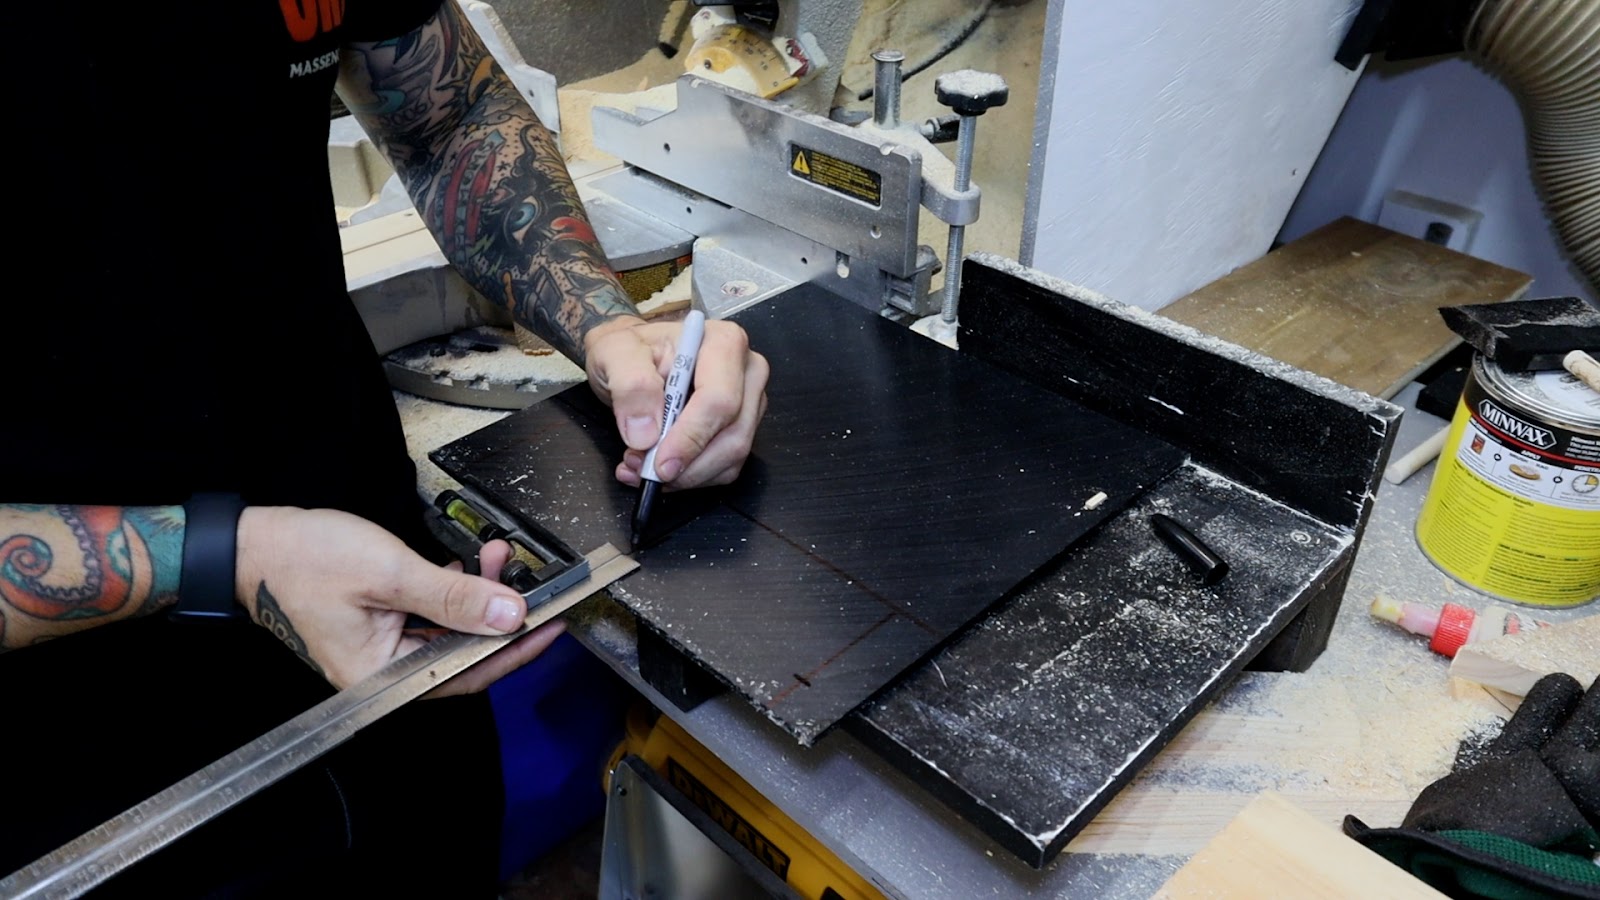
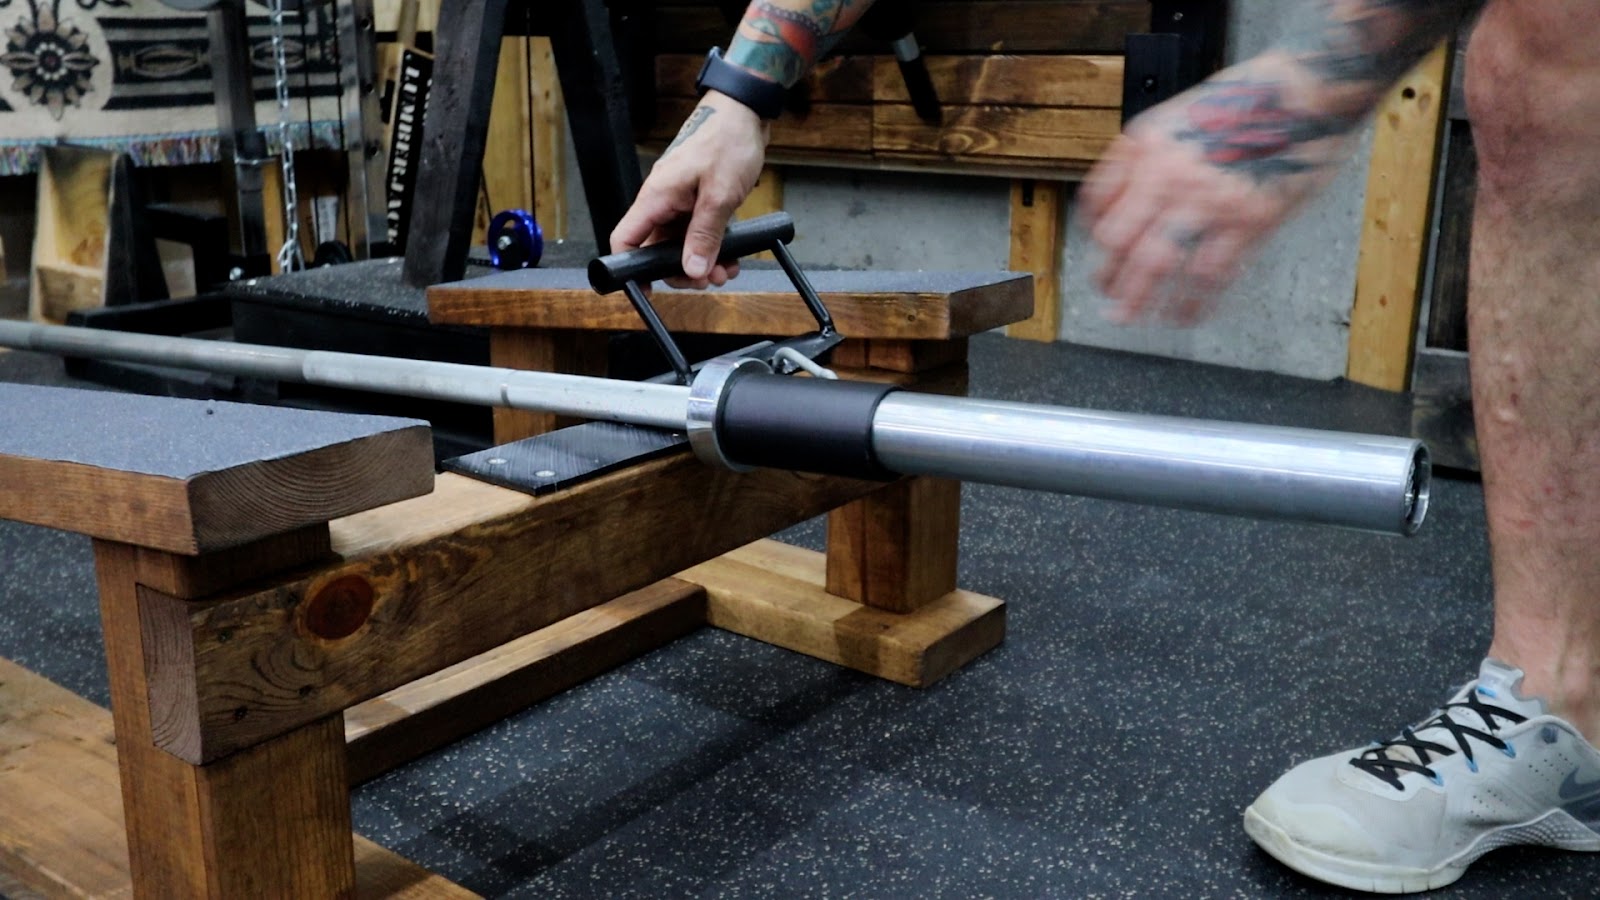
The last thing is some UHMW plastic where the bar rests on the 4×4. I ordered this on Amazon. It can be tricky to work with, but here’s what I do.

First, I mark my cut line using a scrap piece of 4×4; then, I mark the holes for attaching it.

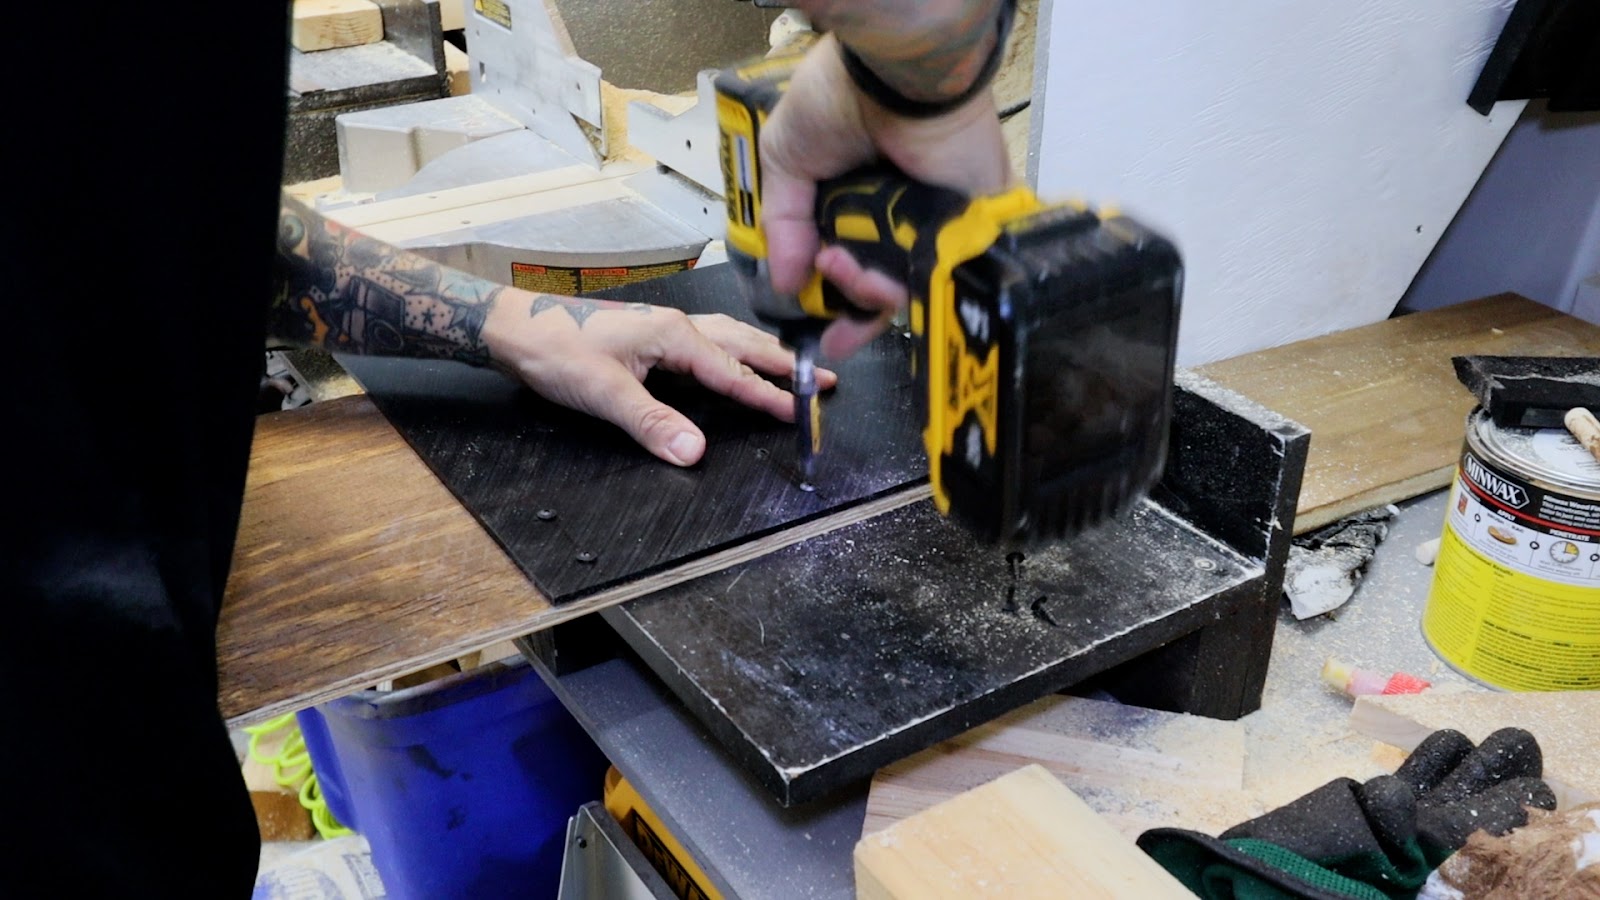
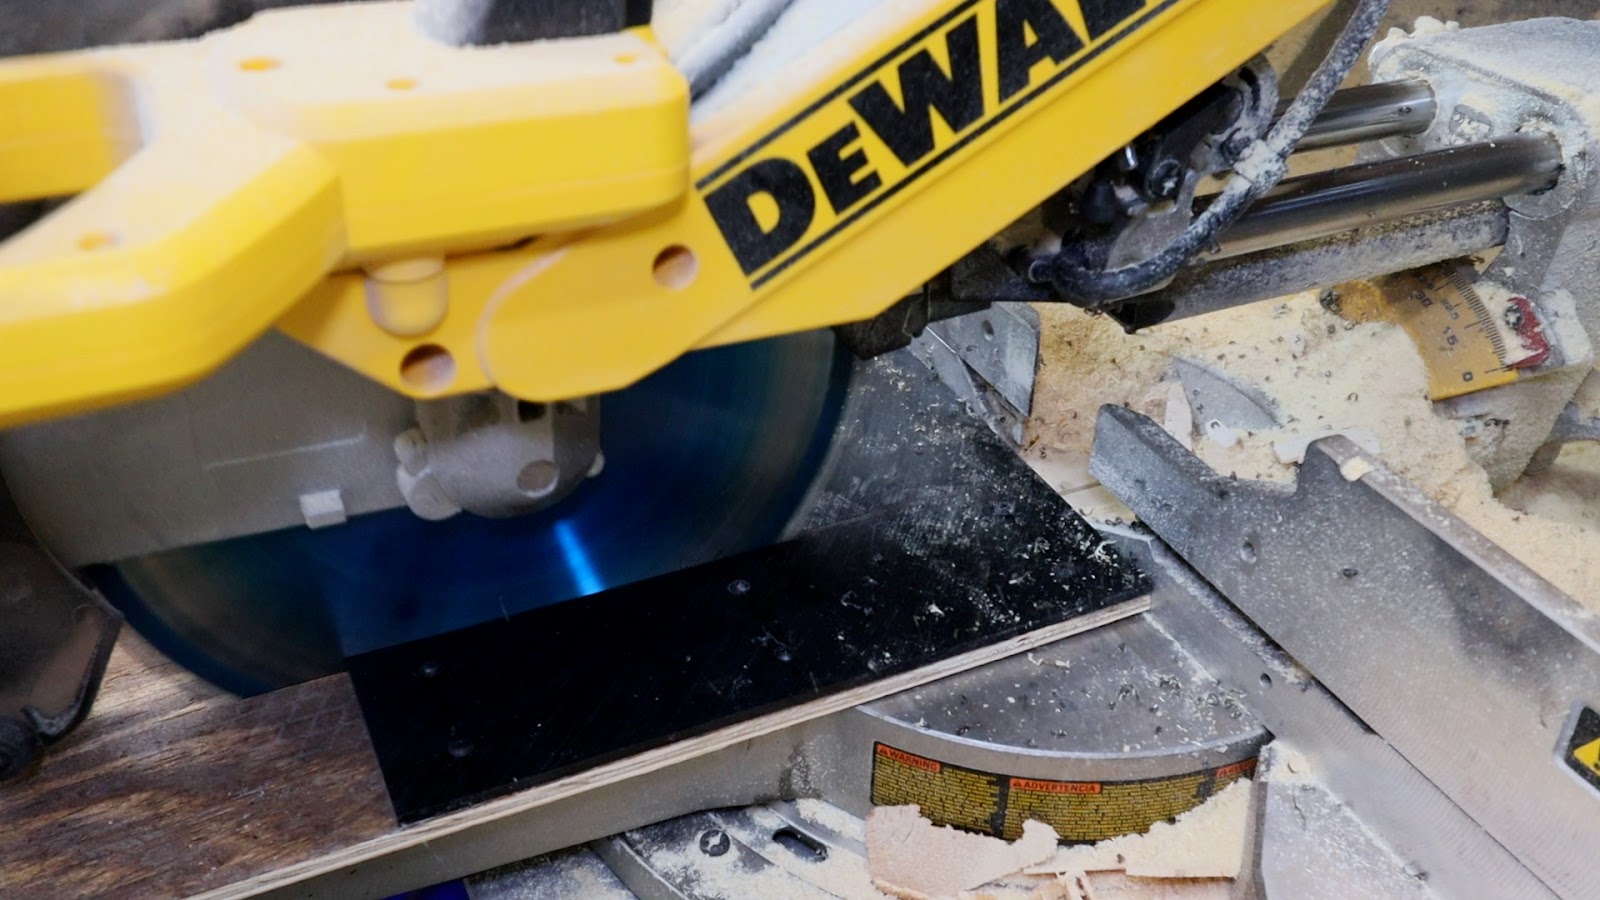
I drill out those holes with my drill press, then use those holes to attach them to a scrap piece of plywood; this makes it easier to cut.

I use a countersink bit to make room for the screw heads.
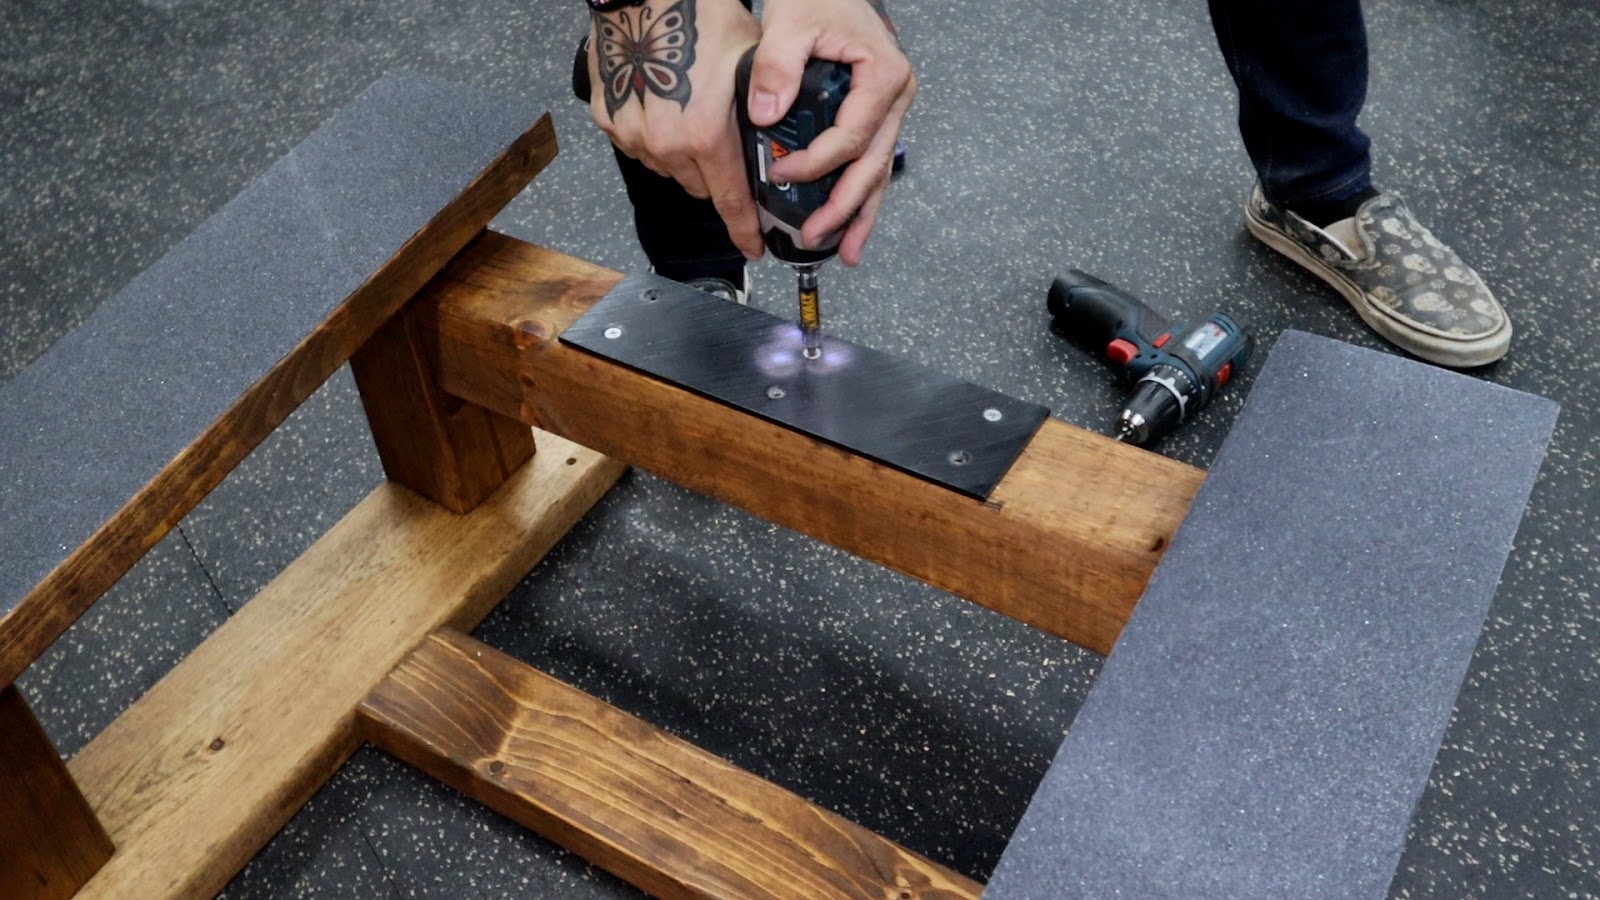
Now it is ready to attach.

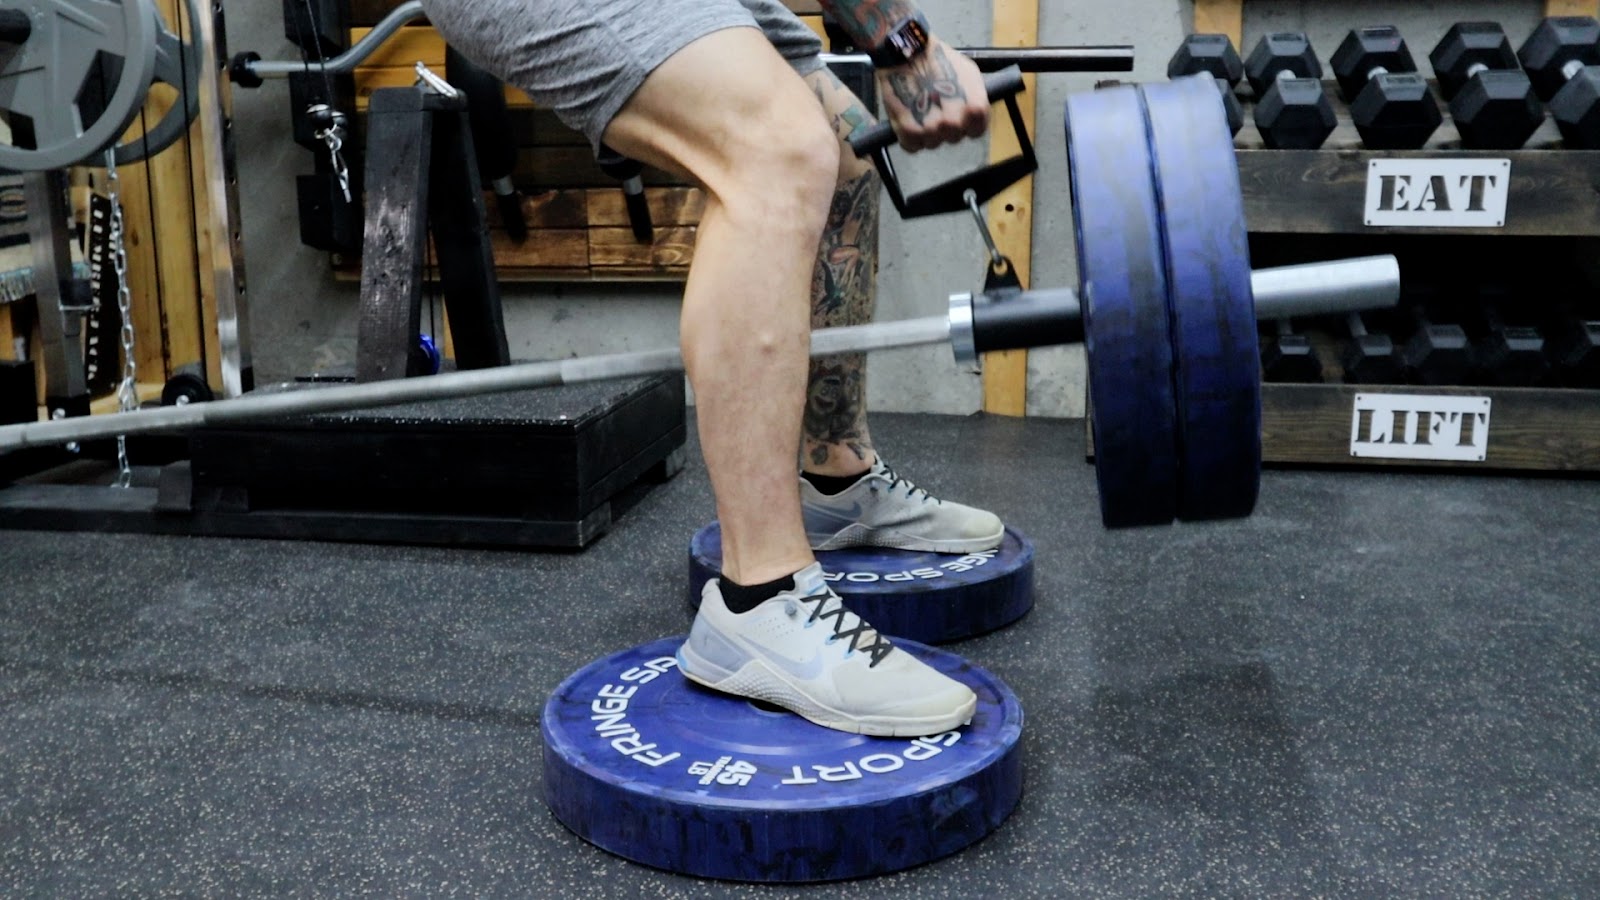
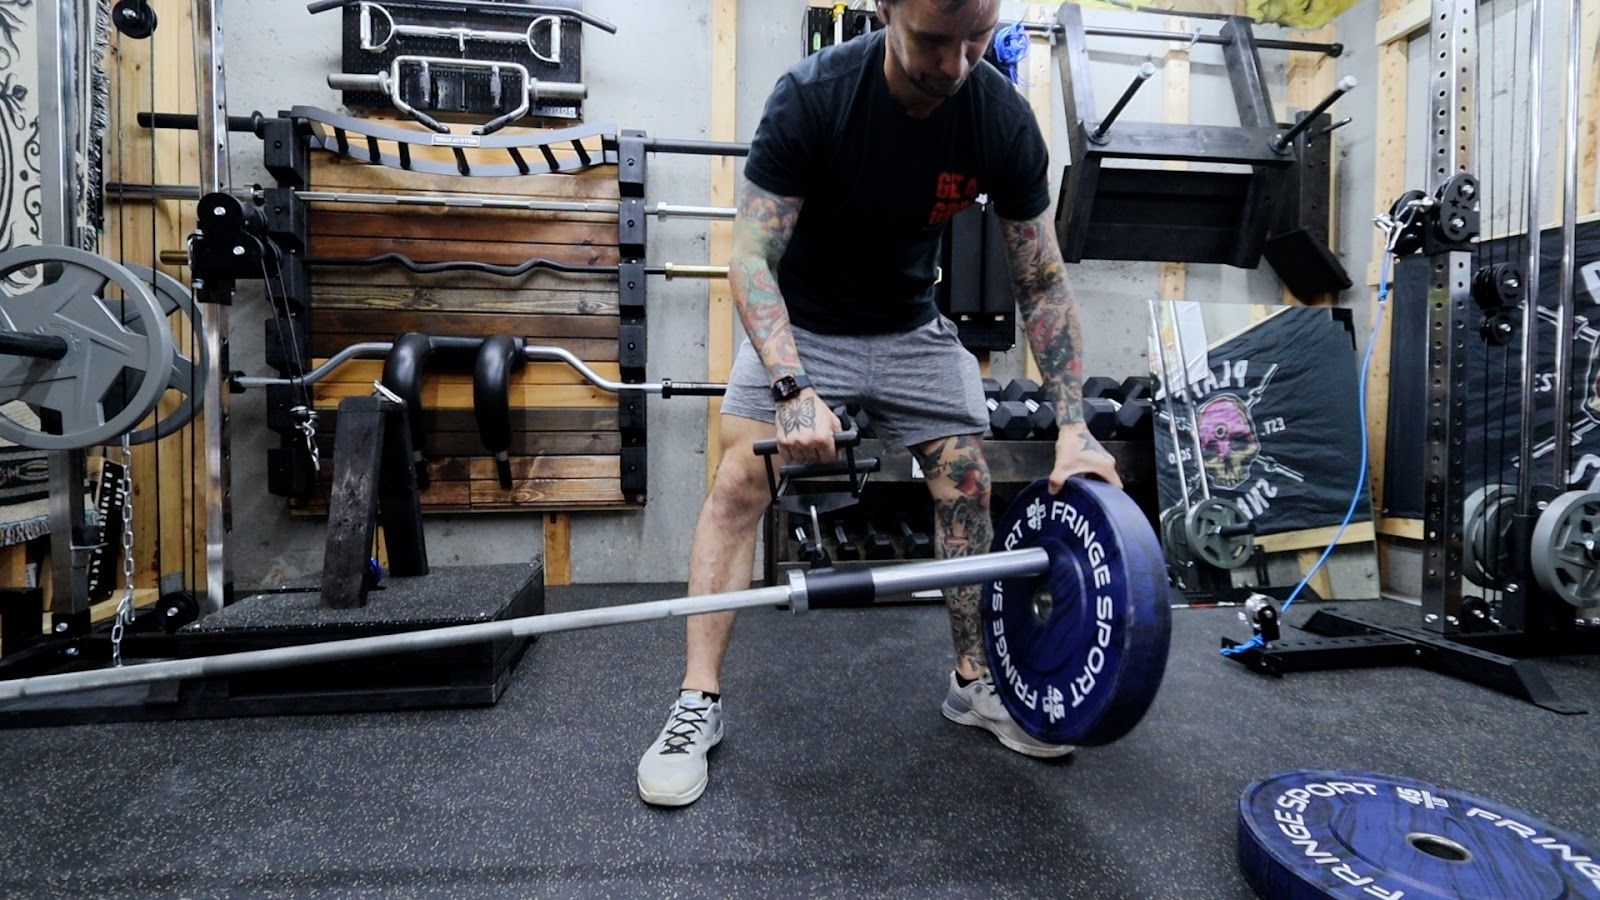
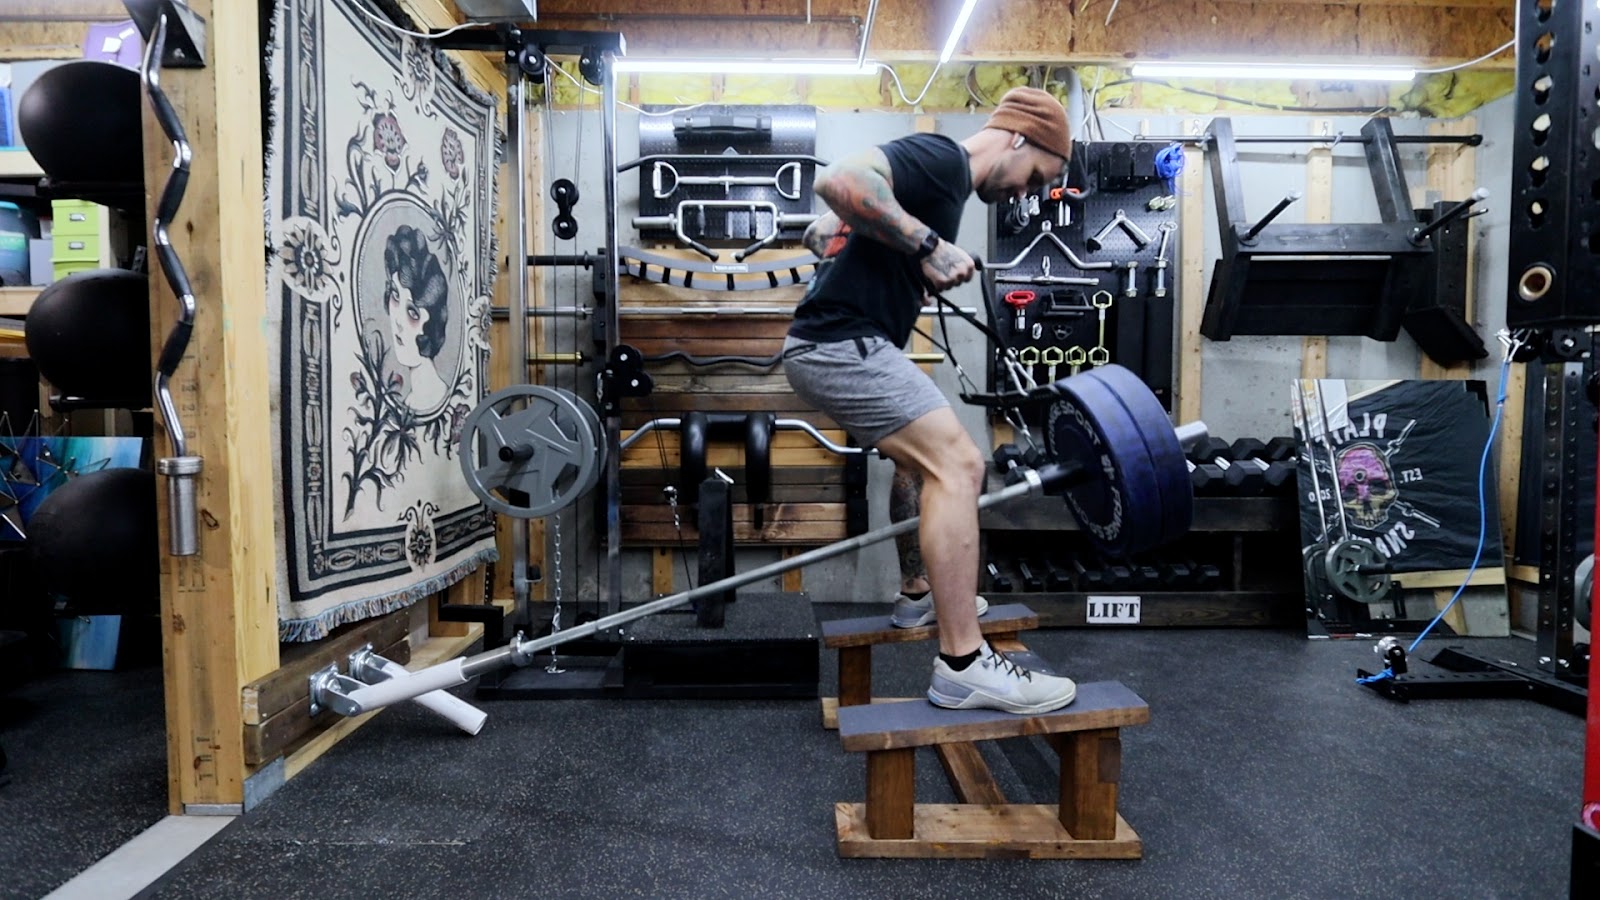
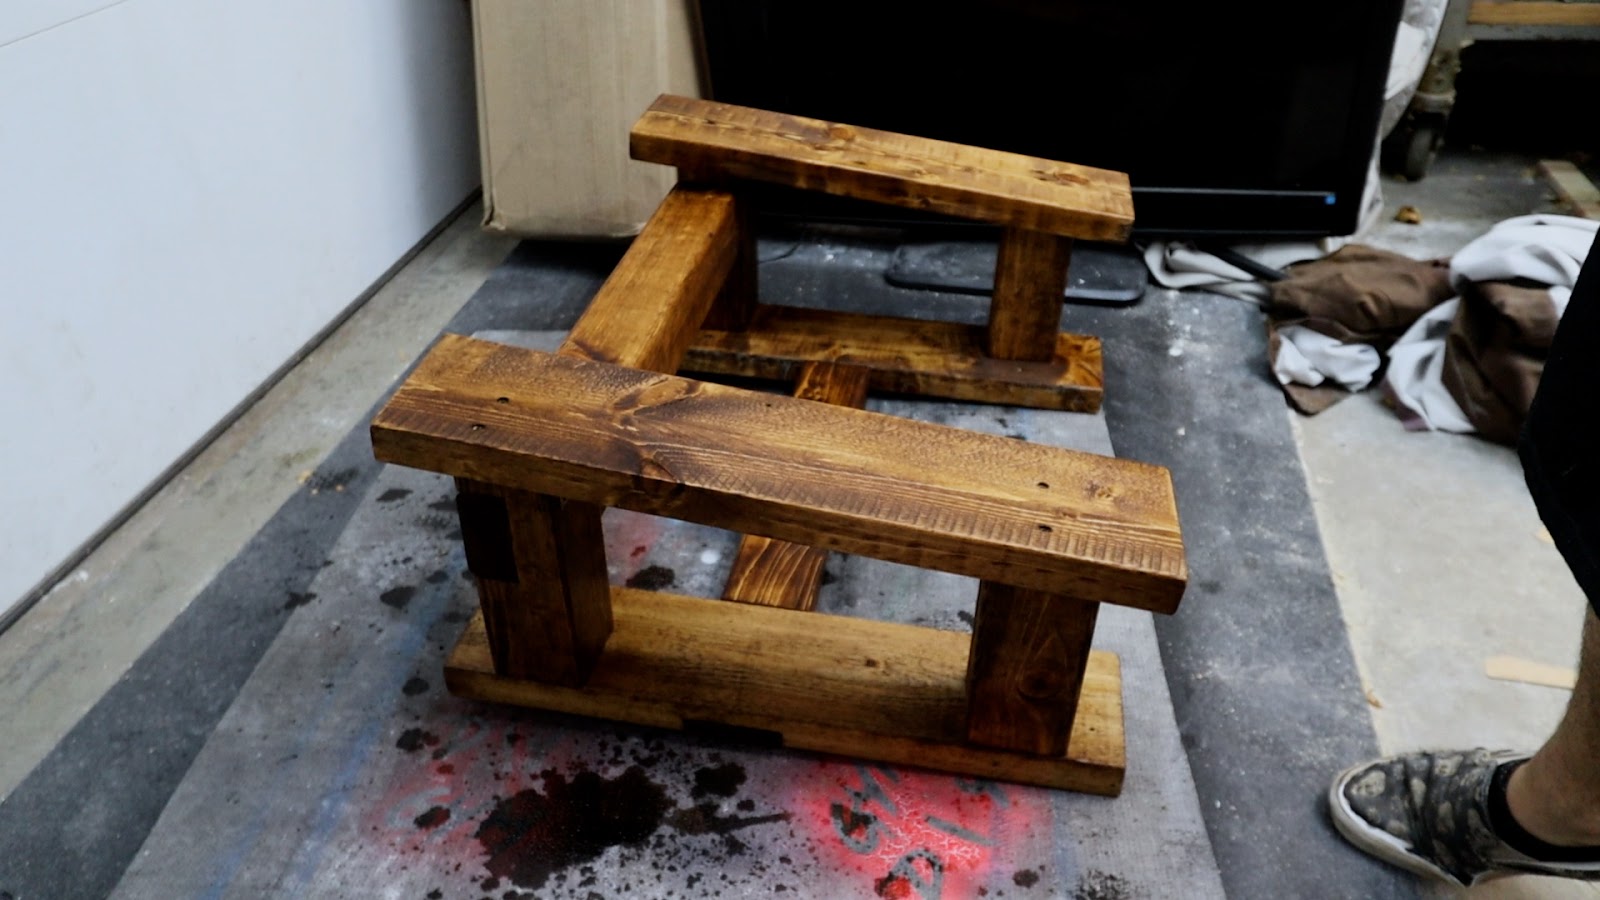
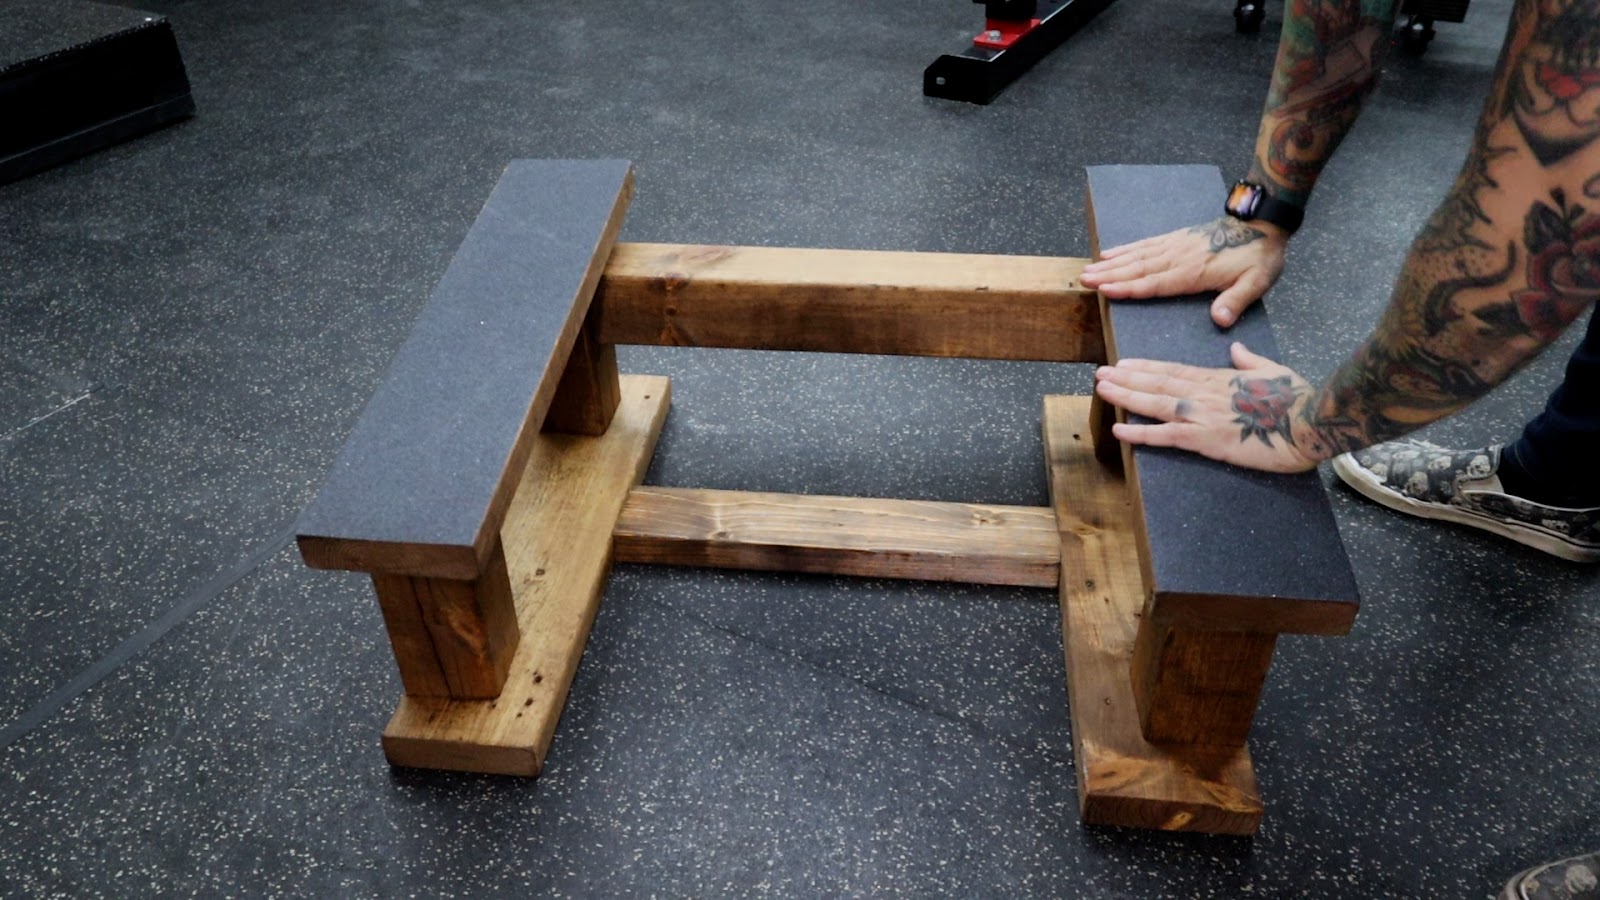
Okay, so here it is. The finished product looks beautiful and is solid as a rock.

Combined with my DIY landmine and this inexpensive handle attachment, you can use any of your lat pull handles for several variations.


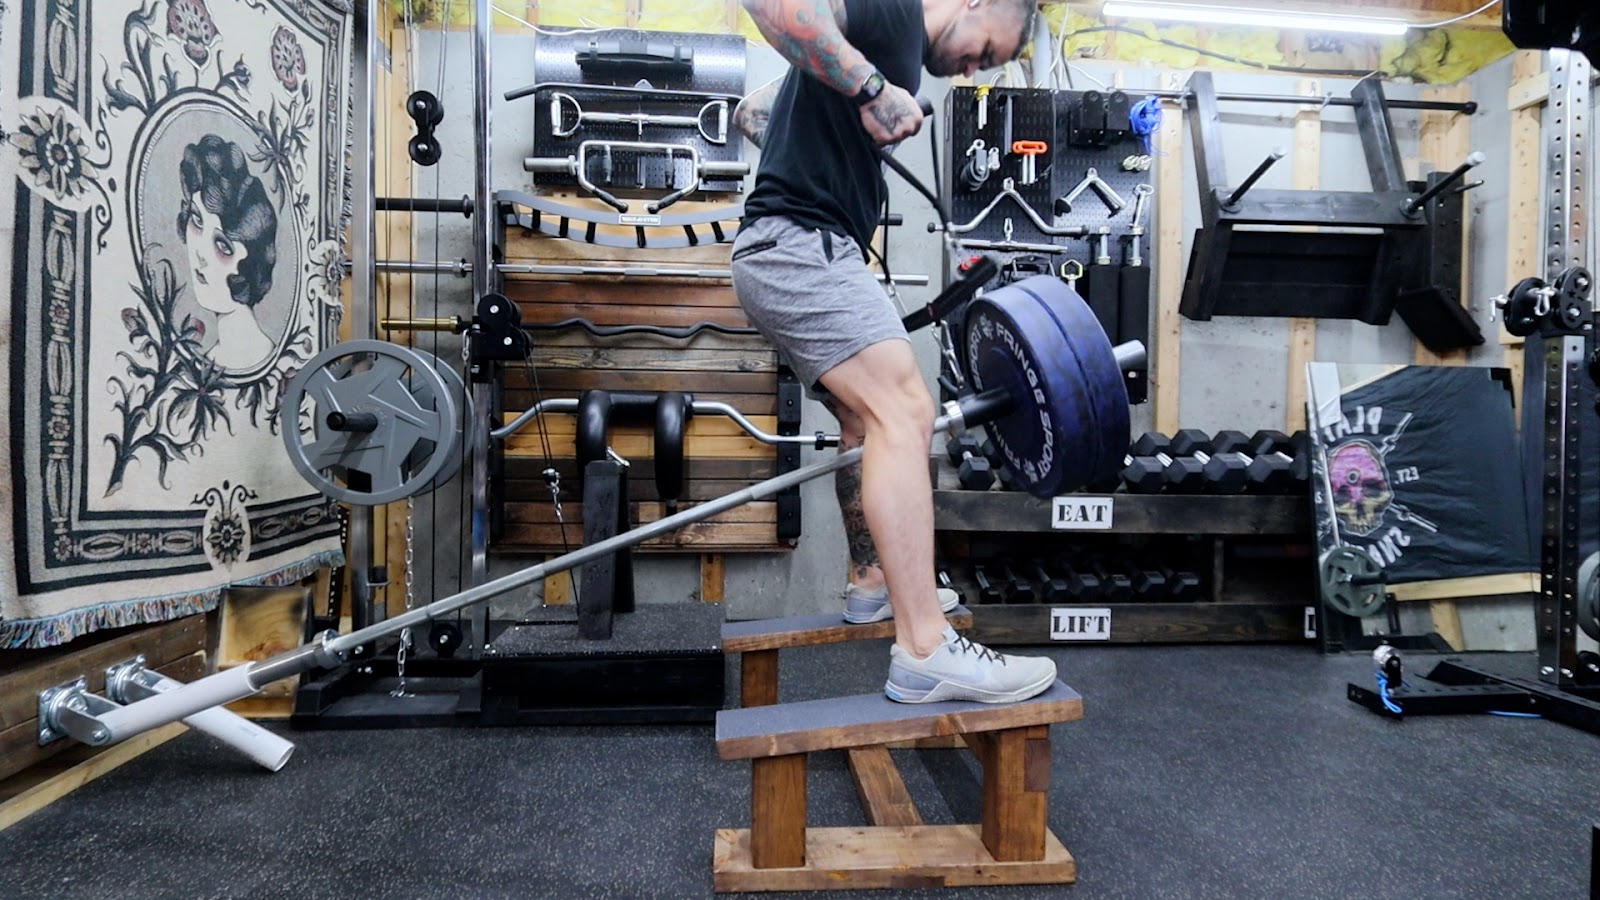

The grip is a tape that keeps my feet from slipping, and the UHMW plastic protects the knurling on my barbell.
But wait, there’s more.


As a bonus, This thing can also be used for belt squats. Shout out to @garagegymjunkies for the idea.

And lastly, if you’re so inclined, you can use it as a squatty potty. As @man_who_parks_in_gym so eloquently pointed out.
What do you think of this build? Let me know in the comment section below.
In screenshot of 85degree angle, what’s the top block measurement for location of cut out? I see overall length of 9.75.