Introduction:
Let’s talk about the lack of space in our home gyms, and about how to open up some floor space. 73% of surveyed home gym owners consider space (or lack it) a major issue for them. What you may need is better storage. If you are a budget home gym owner (and most of us are), the last thing you may want to buy after saving up your hard-earned money is storage solutions. Take dumbbells, for example. Spending over a thousand dollars for a set of dumbbells is a huge investment that takes most a while even to consider. It would help if you now had some storage rack, but that means spending $200+ (often not including shipping), and that may not hold all of your dumbbells. Larger storage systems formed balls, kettlebells, etc. can be even pricier. Below is a simple, customizable storage option.
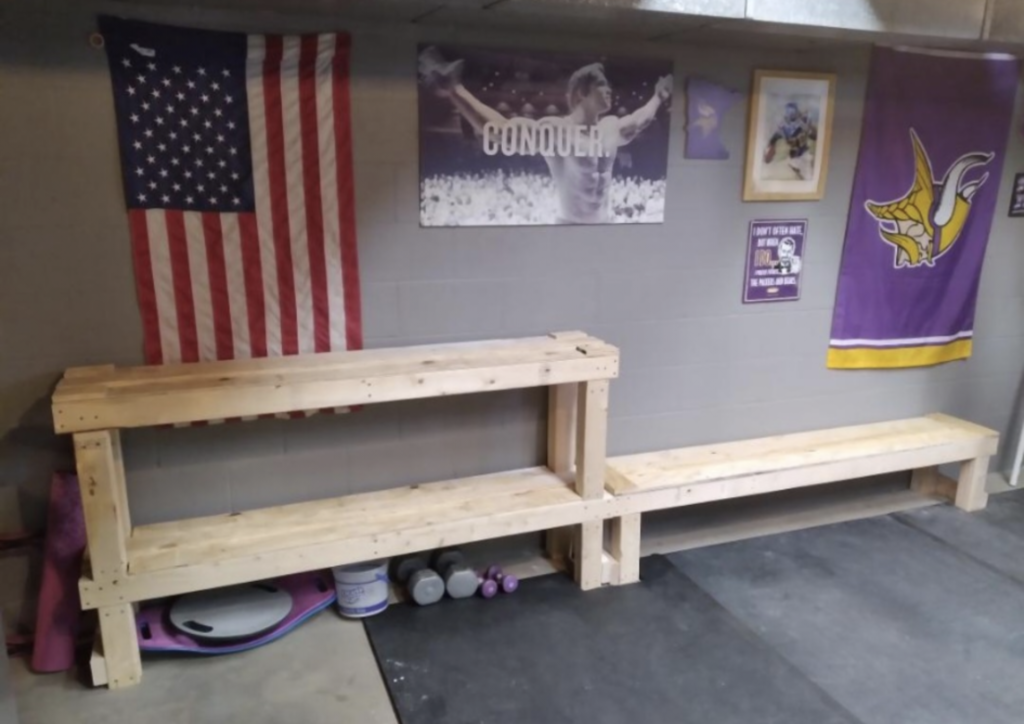
The Garage Storage Shelves:
These storage shelves have been used in garages throughout homes and neighborhoods for years. They are straightforward to build and can be built in any sized dimensions.
Step 1:
Build your top shelf first by making a large rectangle out of 2×4 studs. If you are using a long rectangle, think about adding some cross member-supports throughout for extra support. *This storage unit will be built upside down.

Step 2:
Attach 2×4 legs to the inside corners of your top-shelf. If you add additional shelves’ levels, you will build those and fit them over your legs. Think about adding additional leg support on the outside between shelf levels to create a double ‘foot.’


Step 3:
To keep your legs square, attach a cross-member across the bottom of the feet to keep them from bowing. Another option could be diagonal support, but the bottom foot support is the simplest. Measure the width of the shelf and fit the same size piece across the bottom of the legs.

Step 4:
Cut and fit plywood for the top of the shelf. For a sturdier shelf, use thicker plywood. *The rack shown in the example uses ½” plywood and holds 650 pounds of dumbbells just fine.

Step 5:
If you are using this for a dumbbell rack, run a strip of plywood down the center and on the outside edges to keep your dumbbells from sliding or rolling off.

Custom Shelves:
If you are a DIY’er, you may scoff at the simplicity of this project. This is a straightforward way to build a dumbbell rack. If you search the Garage Gym Experiment Instagram page, you will see community members using more complex building plans, adding angles to the rack. Other ways to customize this storage option would be to have wider shelves and to add multiple levels to store other gym equipment you have lying around. You can also paint your racks to match your gym colors or even add a horse stall mat or other pads to the surface of your rack. Novice handymen (or handy-women), if you can measure, cut, and use a drill gun, this is well within your capabilities.
Price:
This rack was built with 3 2x4x8 studs, a leftover sheet of ½” plywood, and construction screws. The total cost was around $50. It even produced leftover supplies that can be used to build additional storage.
Conclusion:
Storage shelves like these are a great budget option that can be customized to fit any space or piece of equipment that you may have. Manufactured racks and gym storage systems may look and have better quality, but if you’re looking to spend your money on equipment rather than shelves to hold your equipment, here is a great option. If you build these shelves or something like it, be sure to share them with us at Garage Gym Experiment on Instagram.